18 Hairstyles for Medium Length Hair Ideas You’ll Wear on Repeat
I asked my followers with medium-length hair what styles they actually wear every week. Not what looks good in photos, what they really do on busy mornings.
Eighteen styles came up again and again. So I collected them all here, tested a few myself, and added the little tricks that make each one work on real, everyday hair.
If your hair sits somewhere between your chin and your collarbone, this list was made for you. Bookmark it, try a few, and let’s find your new everyday style.
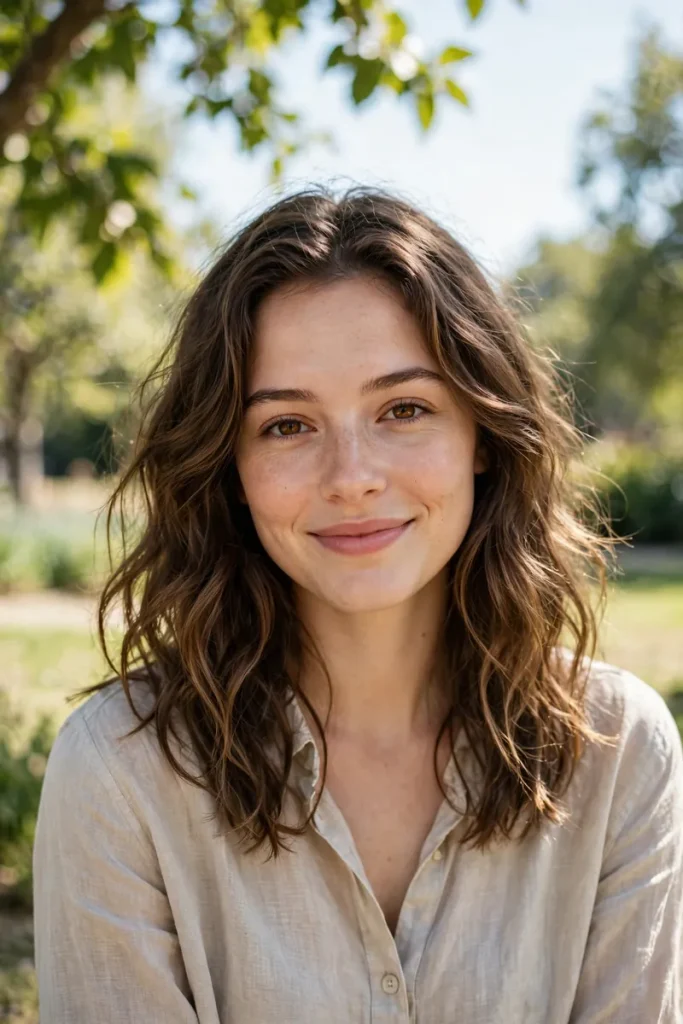
Why Medium Length Is Tricky (and Great)
Medium hair is in-between everything. Too short for some updos, too long to just shake and go. It needs a little more thought than other lengths.
But here’s the flip side: it’s the most versatile length there is. Almost every style works on it, from sleek bobs to loose waves to full updos, which is why stylists secretly love it.
The key is working with your texture instead of fighting it. Medium hair shows every cowlick and wave pattern, so styles that embrace movement always win. Once you stop forcing your hair to be something it’s not, styling gets ten times easier.
18 Hairstyles for Medium Length Hair
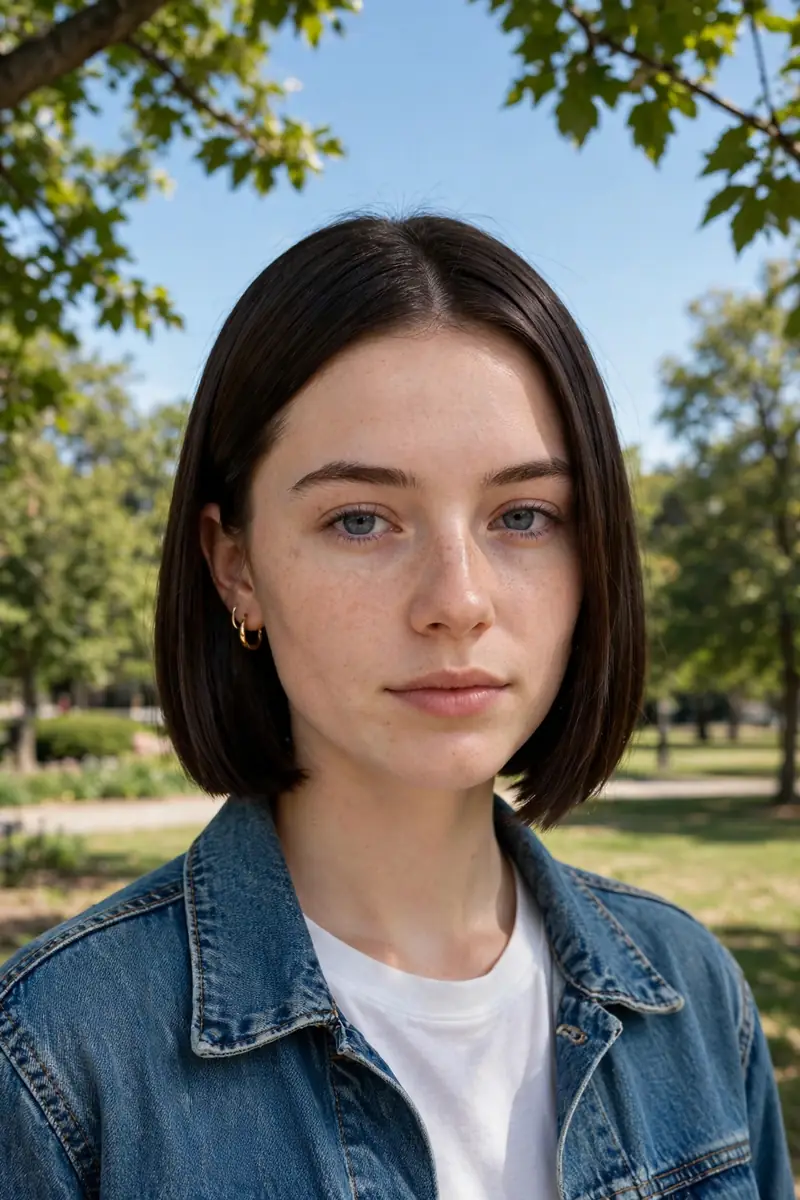
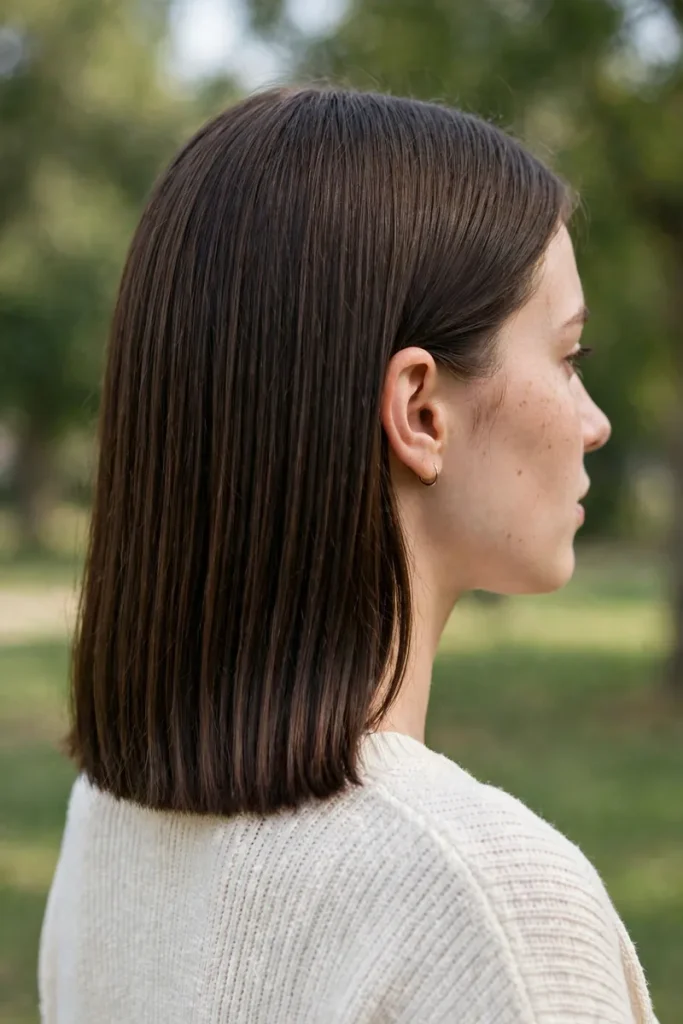
1. Blunt Lob
One length, sharp ends, zero layers. The blunt lob is the haircut that makes fine hair look twice as thick.
It works best straight or slightly bent. The bluntness is the whole point, so keep the ends clean with regular trims every eight weeks.
Air-dry it with a smoothing cream for an effortless version, or flat-iron it sleek for evenings. Same cut, two completely different moods.
Blunt lobs also grow out into a nice long bob, so you’re never stuck with an awkward phase.
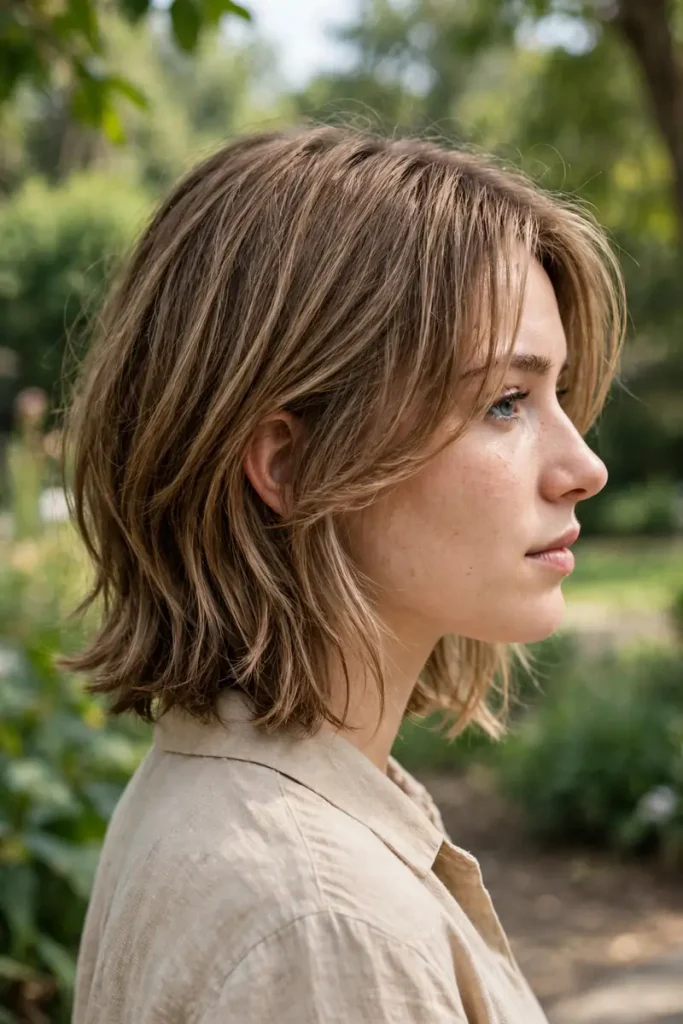
2. Layered Lob with Face-Framing
If blunt feels too severe, layers soften everything. Face-framing pieces that start at the cheekbones flatter almost every face shape.
Ask your stylist for soft, blended layers, not choppy ones. You want movement, not visible steps.
This cut styles itself on wavy hair. Scrunch in some mousse, let it air dry, and the layers do all the work.
Layers need a trim every ten weeks to keep their shape. Grown-out layers just look like long hair.
3. Curtain Bangs
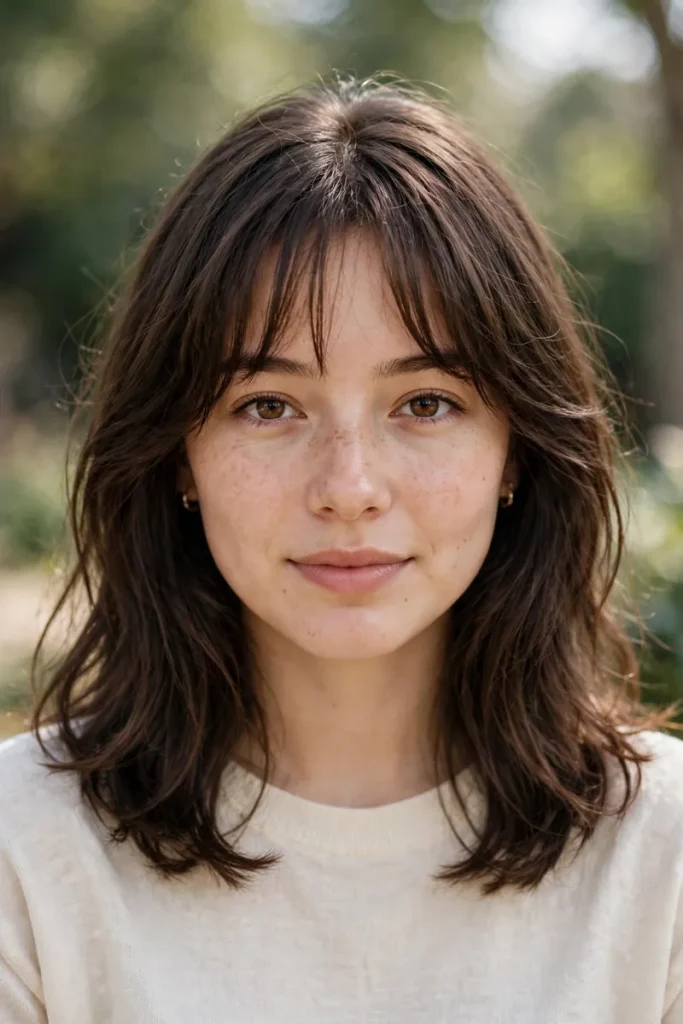
Curtain bangs part in the middle and sweep to each side, framing your face like curtains. They’re the lowest-commitment bangs you can get.
They grow out gracefully, blending into layers instead of that awkward growing-out stage other bangs have.
Style them with a round brush, rolling away from your face. Thirty seconds per side is all it takes once you learn the motion.
Curtain bangs pair beautifully with both straight and wavy textures, which makes them extra versatile.
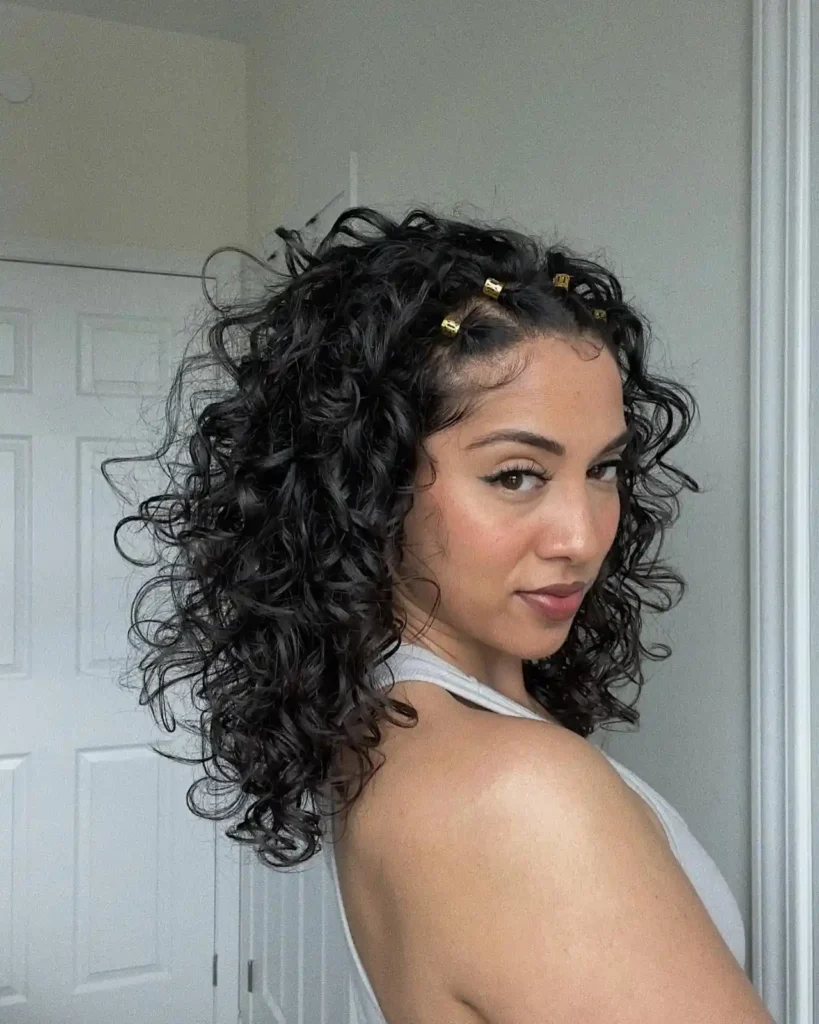
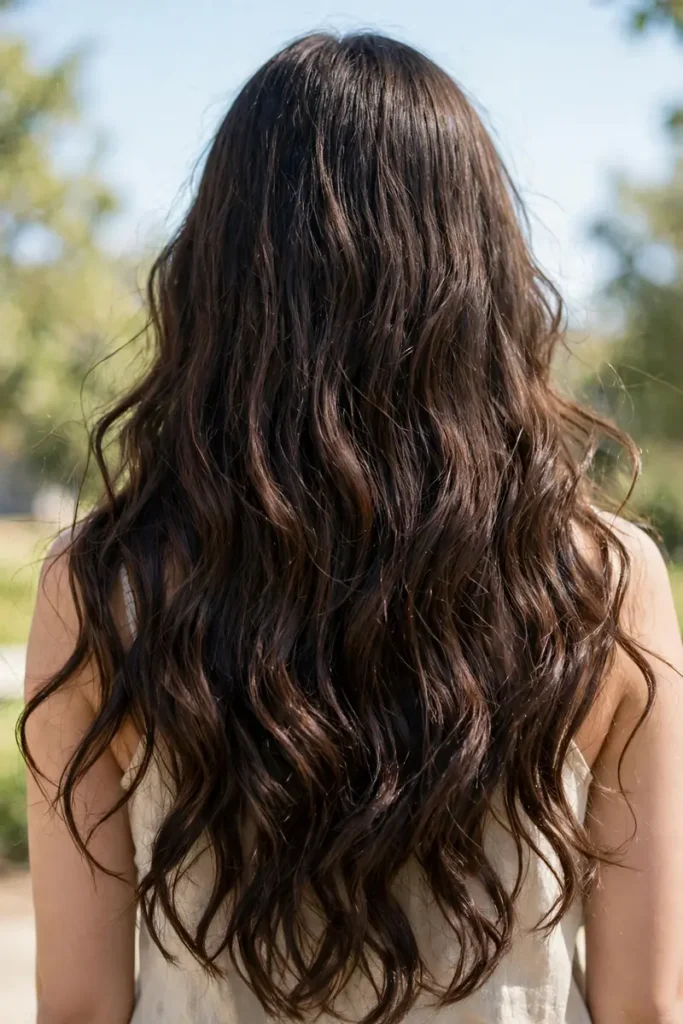
4. Effortless Textured Waves
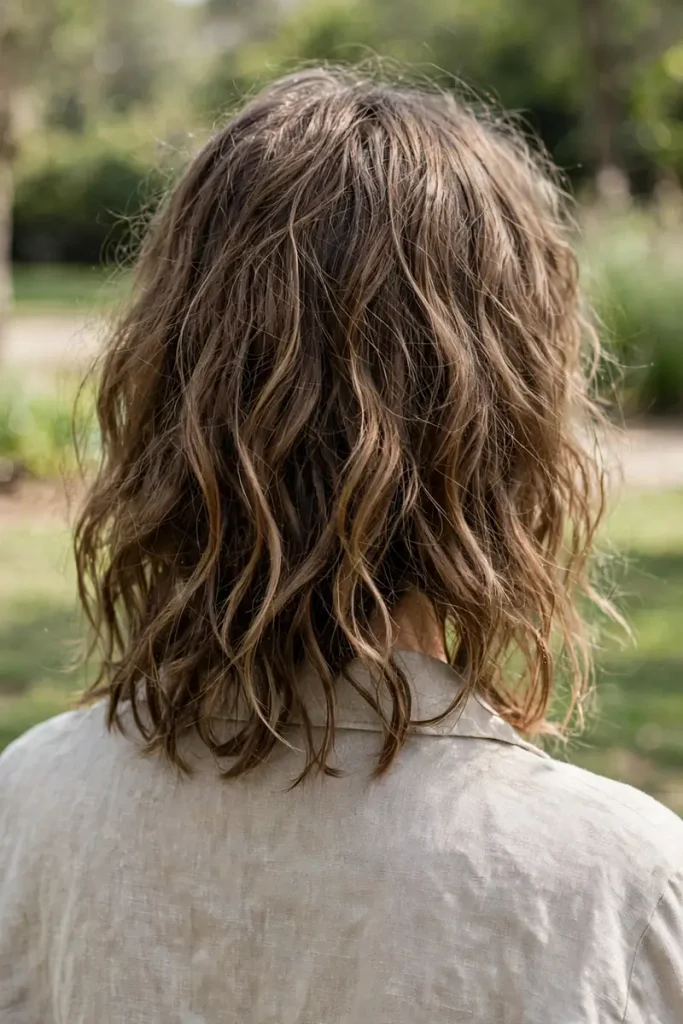
The “I woke up like this” waves that actually take ten minutes. Loose, touchable, perfectly imperfect.
The secret is alternating directions as you curl. One piece toward your face, the next away. That’s what creates natural-looking texture instead of pageant curls.
Leave the last inch of each strand uncurled. Straight ends make waves look modern; curled ends make them look dated.
A sea salt spray on damp hair boosts texture before you even pick up the iron.
5. Sleek Glass Hair
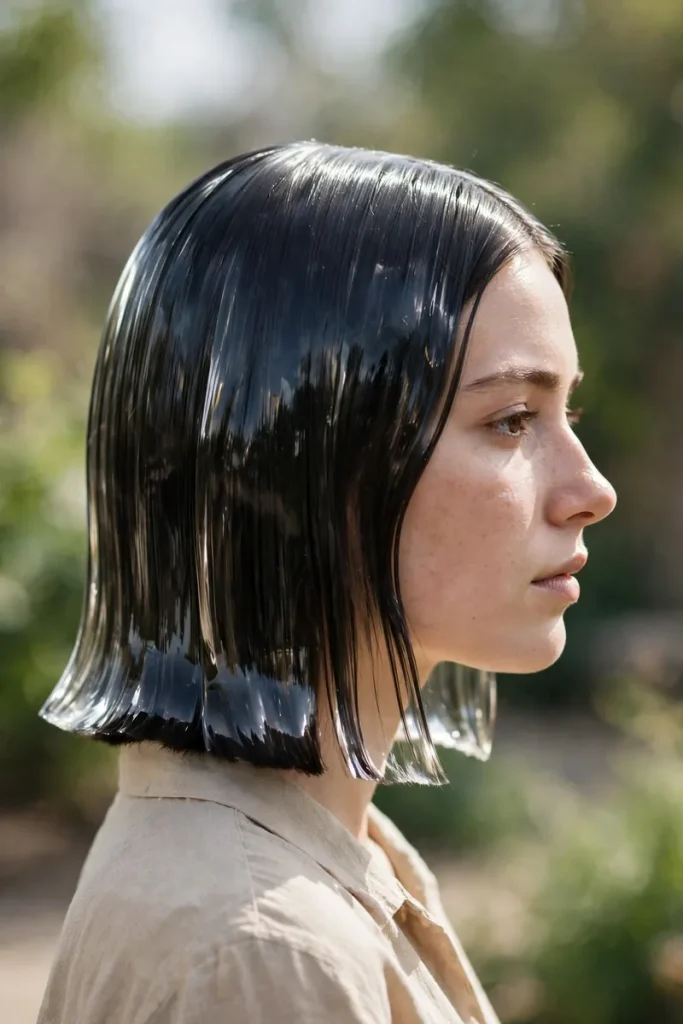
Pin-straight, mirror-shine hair. Glass hair is striking on medium lengths because the shine shows from every angle.
Start with a heat protectant, always. Then flat-iron in small sections, slow and steady. Rushing the iron is what causes frizz.
Finish with a drop of shine serum on the ends only. Too much product at the roots kills the sleekness and makes hair look greasy.
Glass hair looks best with a center part, which keeps the sleek symmetry the style demands.
6. 90s Flippy Blowout
Bouncy, flipped ends, lots of volume. The 90s blowout is back and it’s perfect for medium hair, which holds the flip beautifully.
A round brush is non-negotiable here. Blow-dry each section while rolling the brush outward at the ends to create that flip.
Velcro rollers on the crown while you do your makeup add extra lift. Ten minutes of rollers equals salon-level volume.
This blowout lasts two to three days with dry shampoo at the roots each morning.
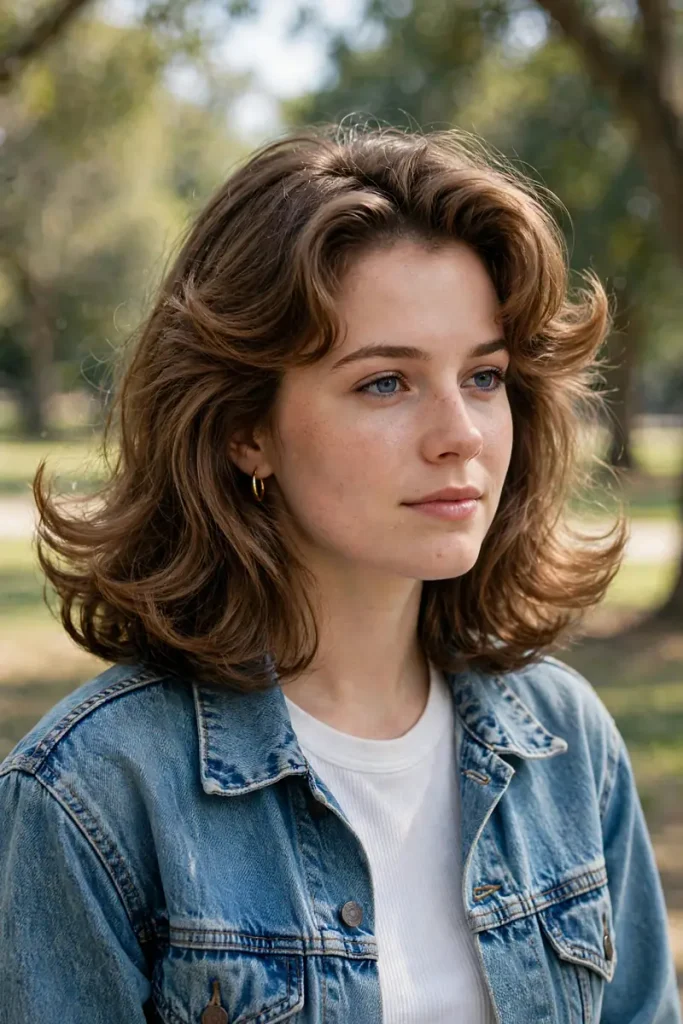
7. Half-Up Top Knot
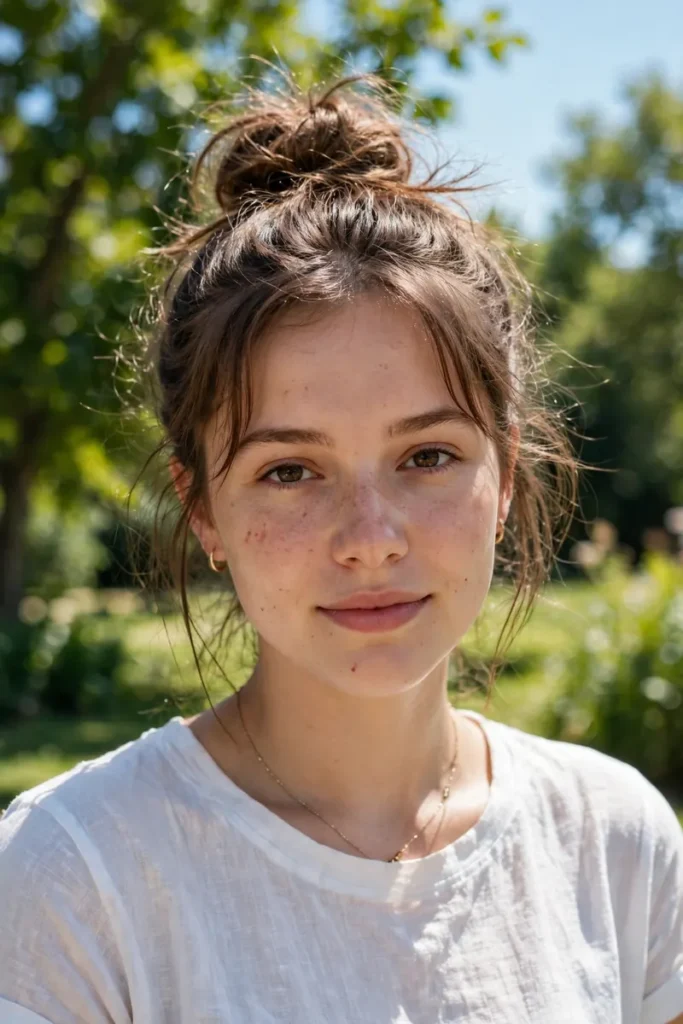
Take the top half of your hair, twist it into a small bun, leave the rest down. Cute in under two minutes.
Medium hair is the ideal length for this. Long enough for a real bun, short enough that the bottom half doesn’t overwhelm it.
Pull out a few face-framing pieces before you tie it. The softness around your face is what makes it look effortless instead of severe.
A mini claw clip can hold the bun instead of an elastic for a softer, less dented finish.
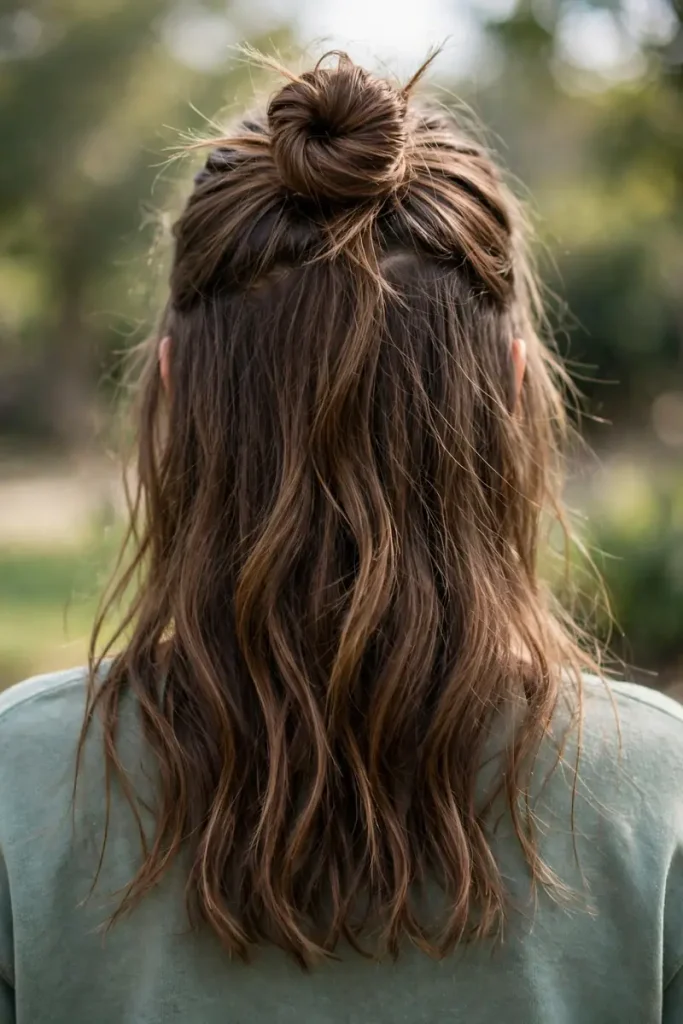
8. Claw Clip Twist
Gather your hair, twist it up, clamp a claw clip over it. The easiest updo ever invented, and it looks chic every time.
The twist matters. Don’t just fold, actually twist the hair upward before clipping. The twist creates the shape; the clip just holds it.
Leave the ends fanning out over the clip for a relaxed look, or tuck them under for something neater. Both work.
Keep a claw clip in your bag always. It’s the fastest fix for bad hair days, anywhere.
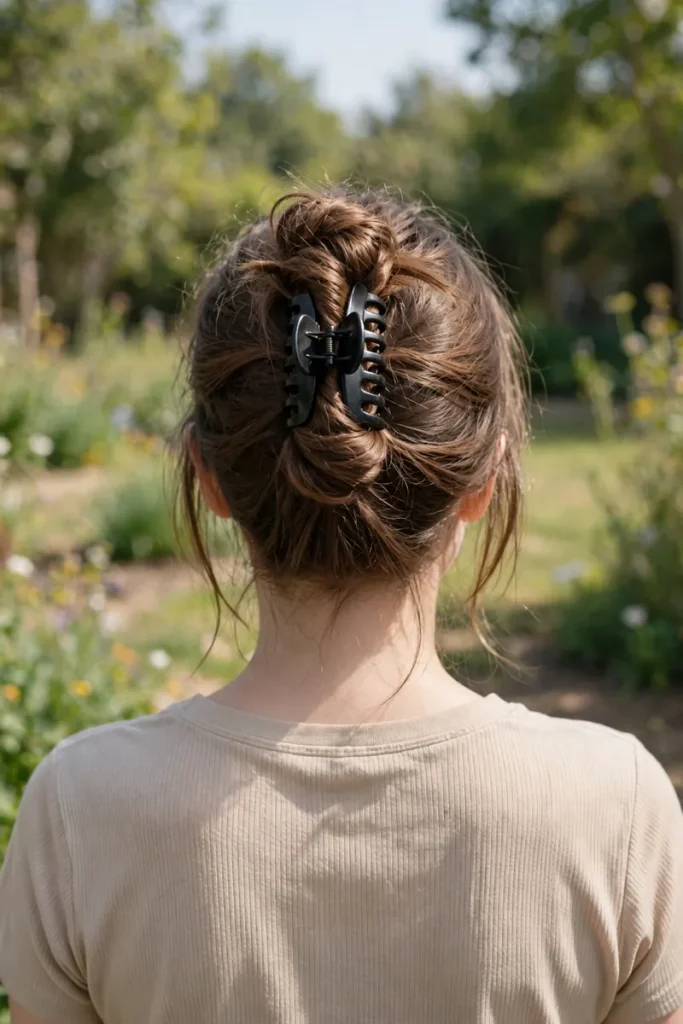
9. Low Messy Bun
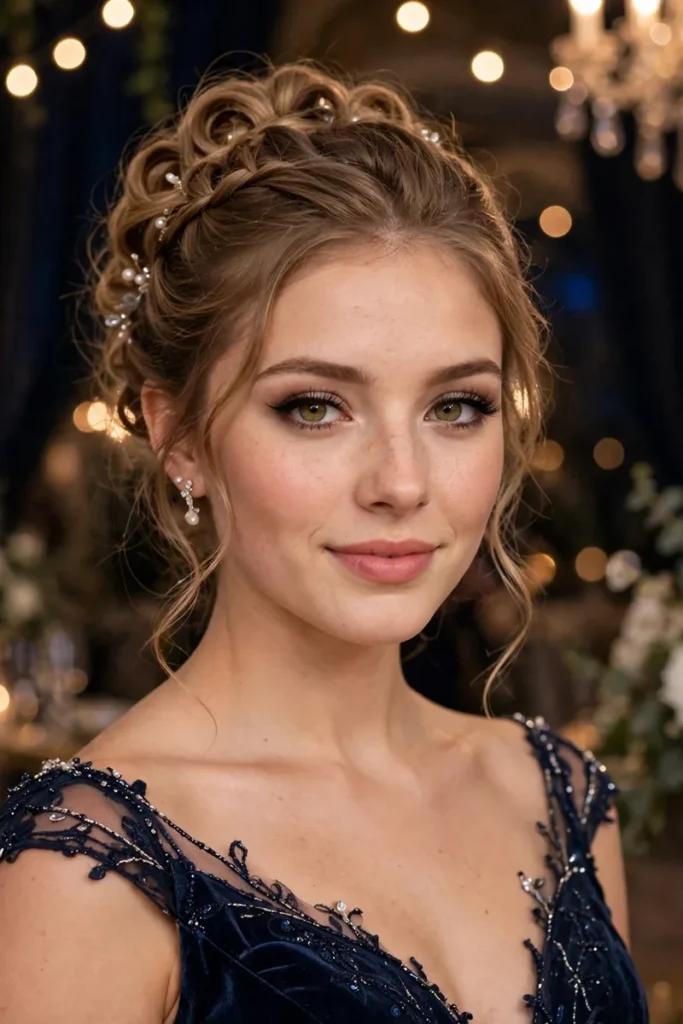
A loose bun at the nape of your neck. Romantic, easy, and appropriate for everything from brunch to weddings.
Texture first, bun second. Tease the crown lightly before gathering, or the bun sits flat against your head.
Secure with pins, not just an elastic. Pins let you shape the bun; elastics just squash it. Place pins where the bun meets your head.
A low messy bun works for second-day hair better than freshly washed, which tends to slip.
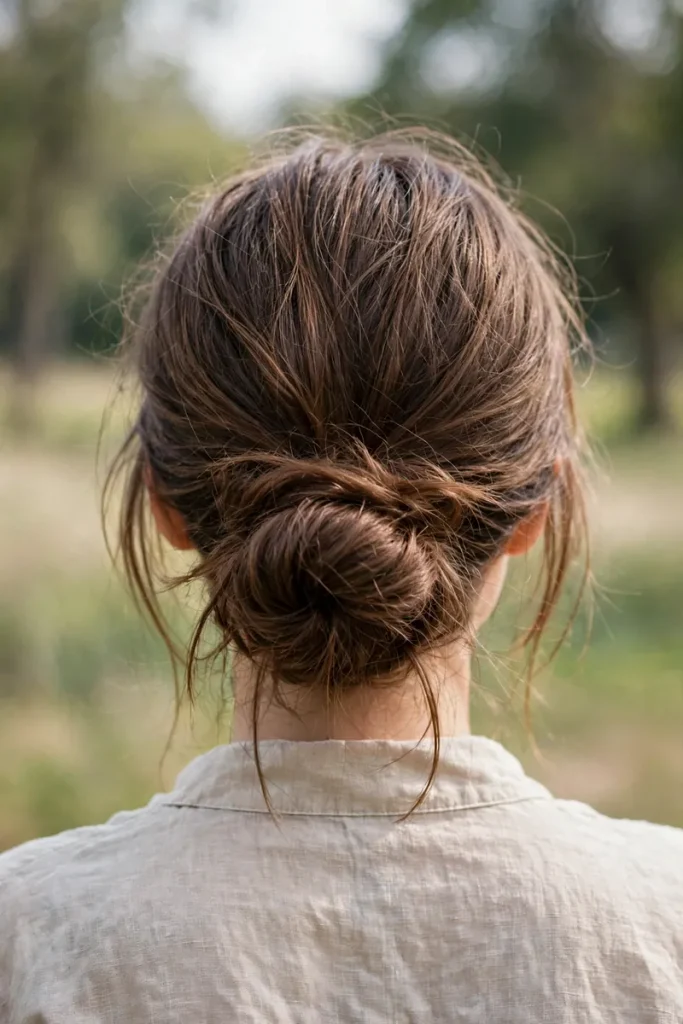
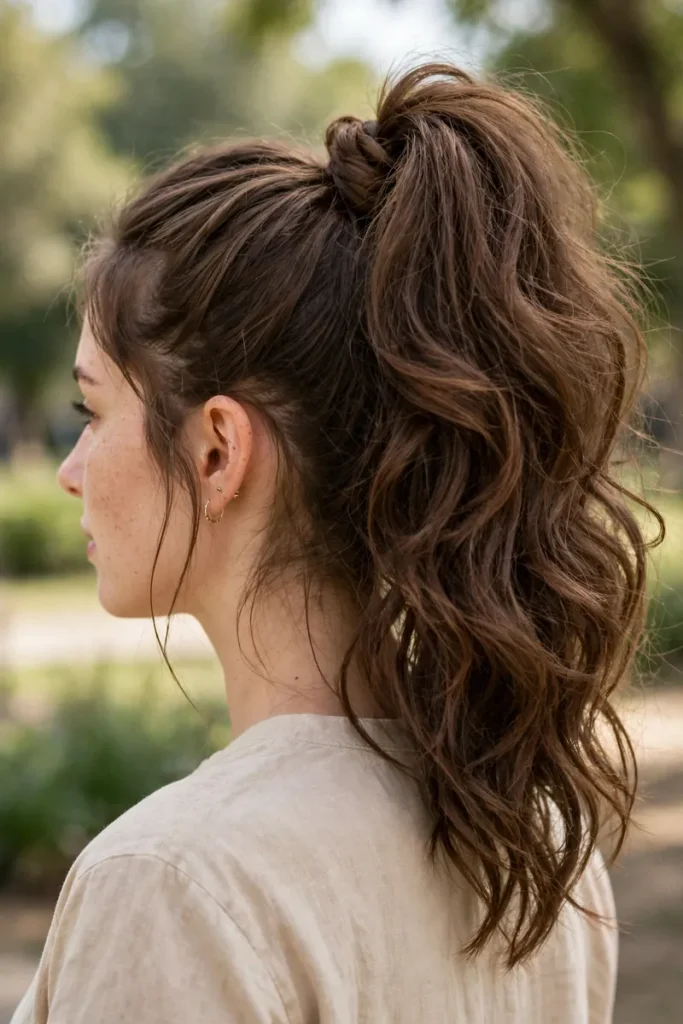
10. High Ponytail with Volume
Not a gym ponytail, a voluminous, bouncy one. Teased at the crown, wrapped at the base, full of movement.
Flip your head upside down to gather it. Gravity is your volumizer, and gathering upside down doubles the lift.
Wrap a strand of hair around the elastic to hide it. It’s the oldest trick in the book because it works every single time.
Tease the ponytail itself lightly underneath for extra fullness that lasts all day.
11. Loose Side Braid
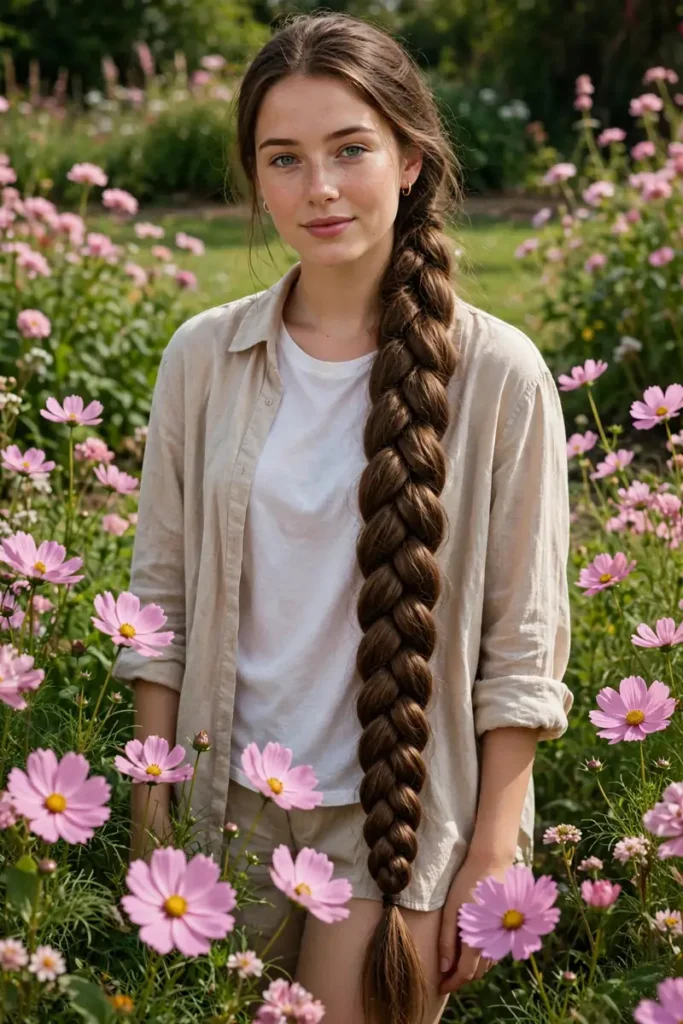
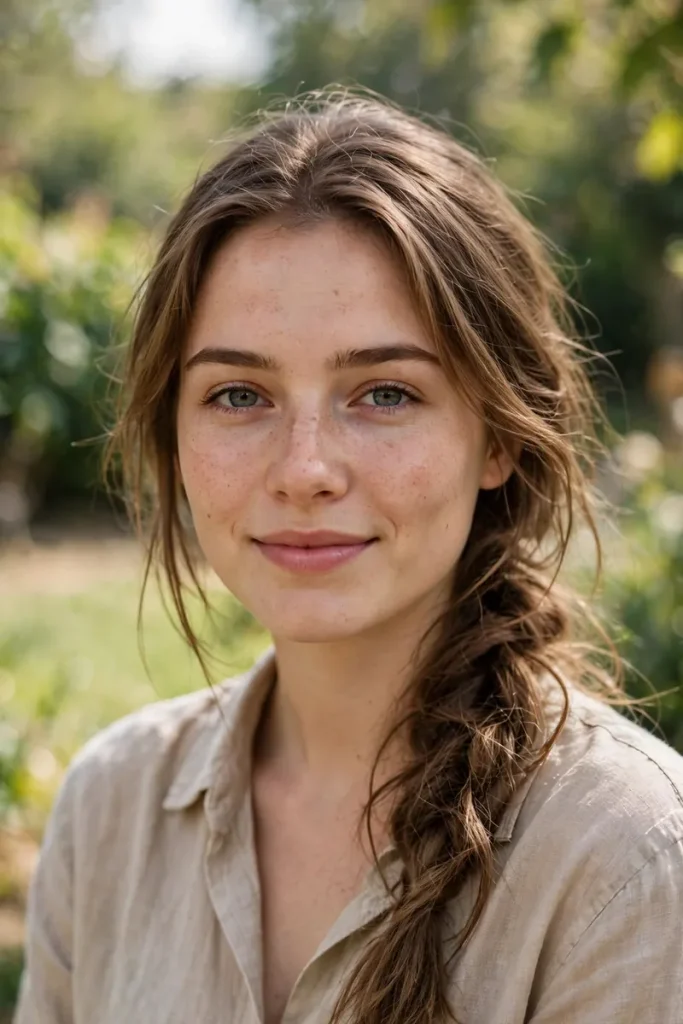
One soft braid over a single shoulder. Romantic, feminine, and done in four minutes.
Pancake it after tying. Gently pull the edges outward to make the braid look thicker and more relaxed.
This style is forgiving on second-day hair, which actually holds braids better than freshly washed hair.
Side braids look great with a hat or beanie in winter, since the braid sits clear of the brim.
12. French Braid
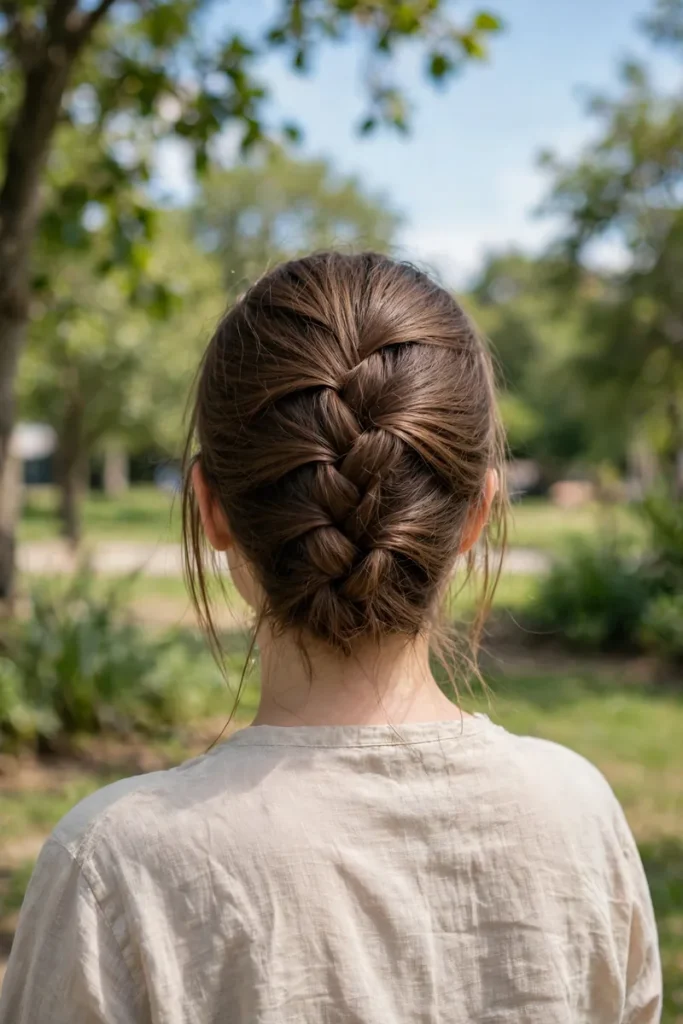
Classic for a reason. A French braid keeps medium hair completely contained and looks polished all day.
Start at the crown, not the forehead. Starting too far forward makes the braid look short and stubby on medium lengths.
For a softer version, pancake the braid and pull out face-framing pieces. Same technique, completely different vibe.
French braids are perfect for workouts because nothing moves, no matter how much you do.
13. Bubble Braid Ponytail
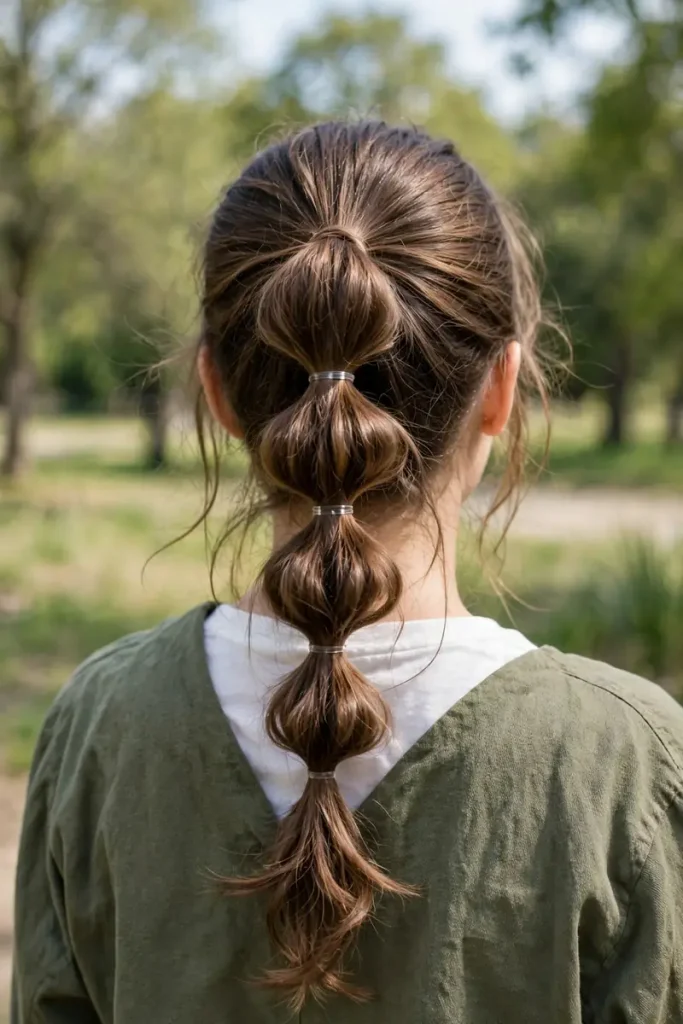
A ponytail with elastics spaced down its length, each section puffed into a bubble. Playful and zero skill required.
Medium hair makes perfect bubbles. Long enough for three or four sections, short enough that they stay perky.
Use clear elastics so they disappear, and puff gently. Aggressive tugging slides the elastics down and ruins the spacing.
Add a ribbon at the base of the bubble braid for a cute, dressed-up variation.
14. Milkmaid Braids
Two braids wrapped over your head like a crown. Sweet, vintage, and surprisingly easy on medium hair.
Your hair needs to reach across your head, which medium lengths usually do. If the ends barely meet, pin them where they land.
Tuck each end under the opposite braid and pin generously. Hidden ends are what separate a polished milkmaid from a messy one.
Milkmaid braids stay put through wind and dancing, which makes them ideal for outdoor events.
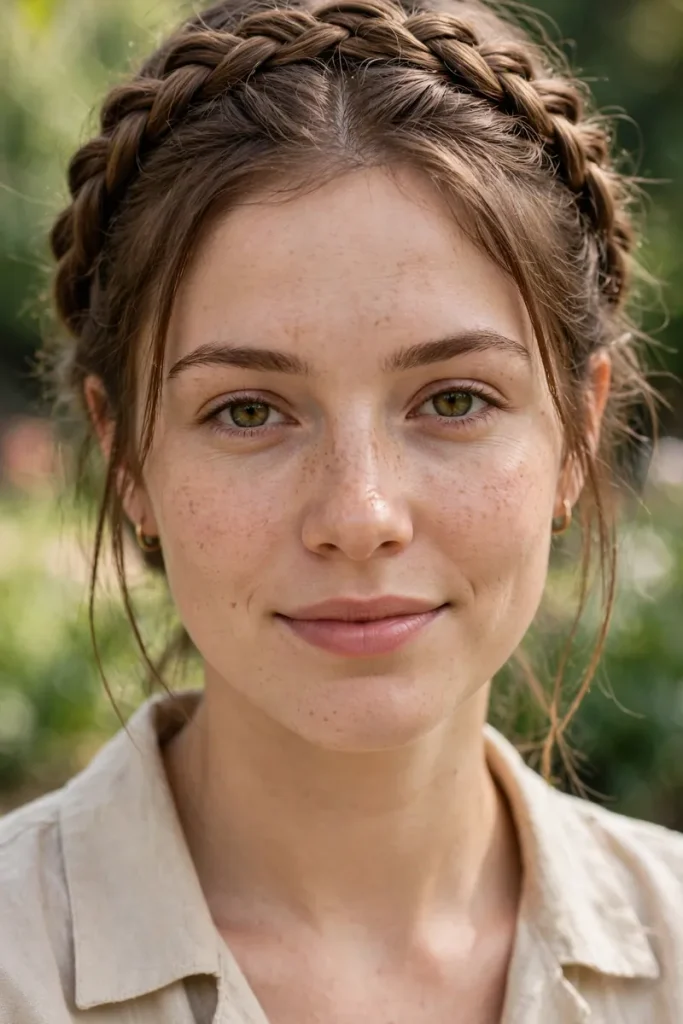
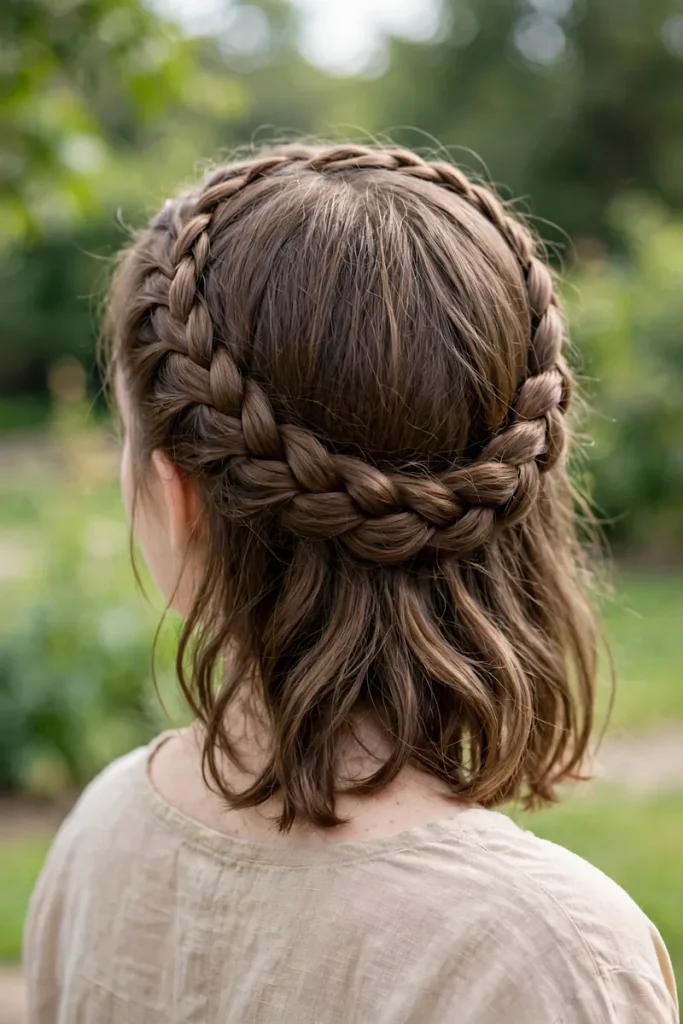
15. Braided Crown
One braid wrapped around your head, pinned in place. Like milkmaid braids but with a single continuous braid.
A Dutch braid works best since it sits on top of the hair and the crown shape reads clearly.
Stretch the braid by pancaking before wrapping. A wider braid makes a prettier, more visible crown.
A braided crown works as a wedding guest style with a few small flowers pinned in.
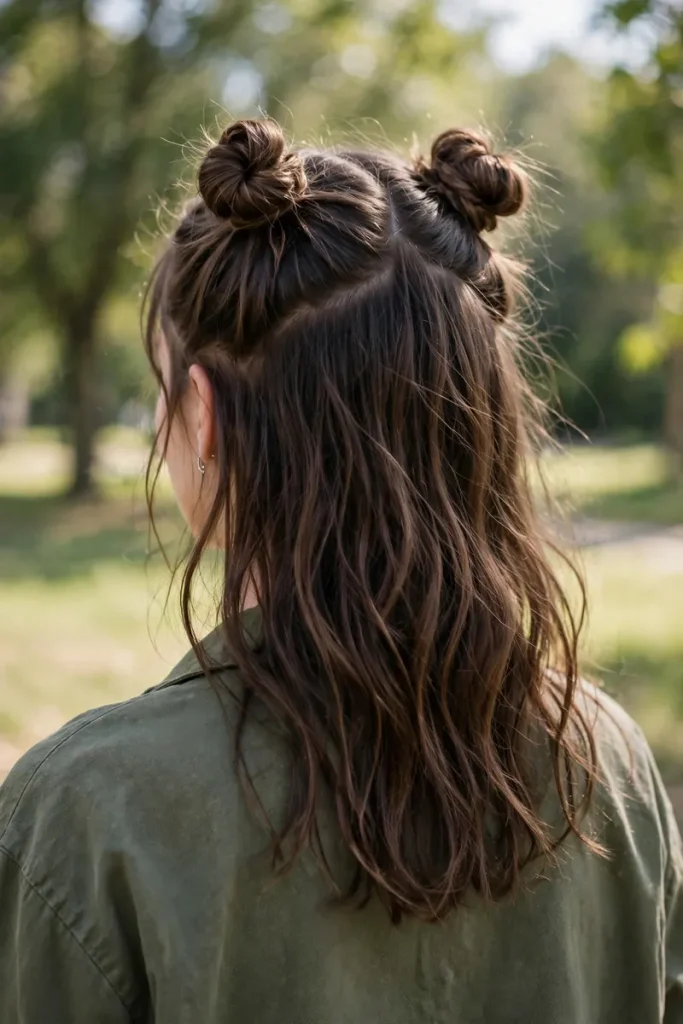
16. Half-Up Space Buns
Two small buns on top with the rest of your hair down. Playful, cute, and very now.
Keep them small and high. Big low buns read costume; small high ones read fashion.
Don’t aim for perfect symmetry. Slightly uneven space buns look cooler and more modern than precise ones.
Space buns with glitter roots are a festival classic if you want to go bolder.
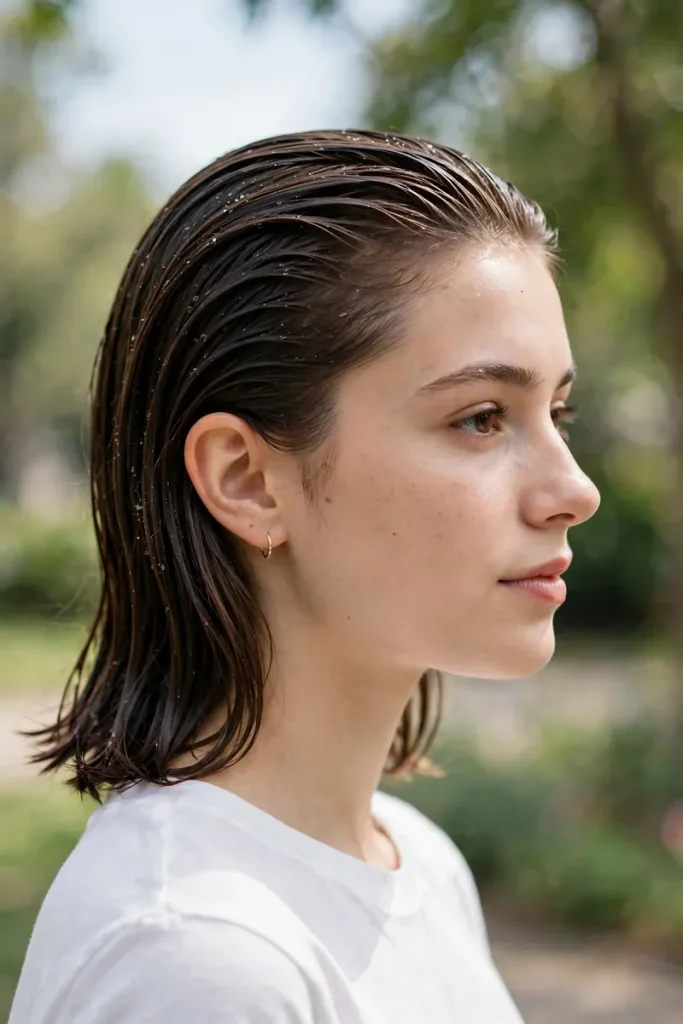
17. Slicked-Back Wet Look
Combed back with gel for a sleek, editorial finish. Bold, striking, and surprisingly easy.
Apply gel to damp hair, not dry. Damp hair distributes product evenly; dry hair goes patchy.
Comb straight back with a fine-tooth comb for precision. This look is all about the clean lines, so take an extra minute.
The wet look pairs best with minimal makeup and bold earrings, letting the hair be the statement.
18. Twisted Low Ponytail
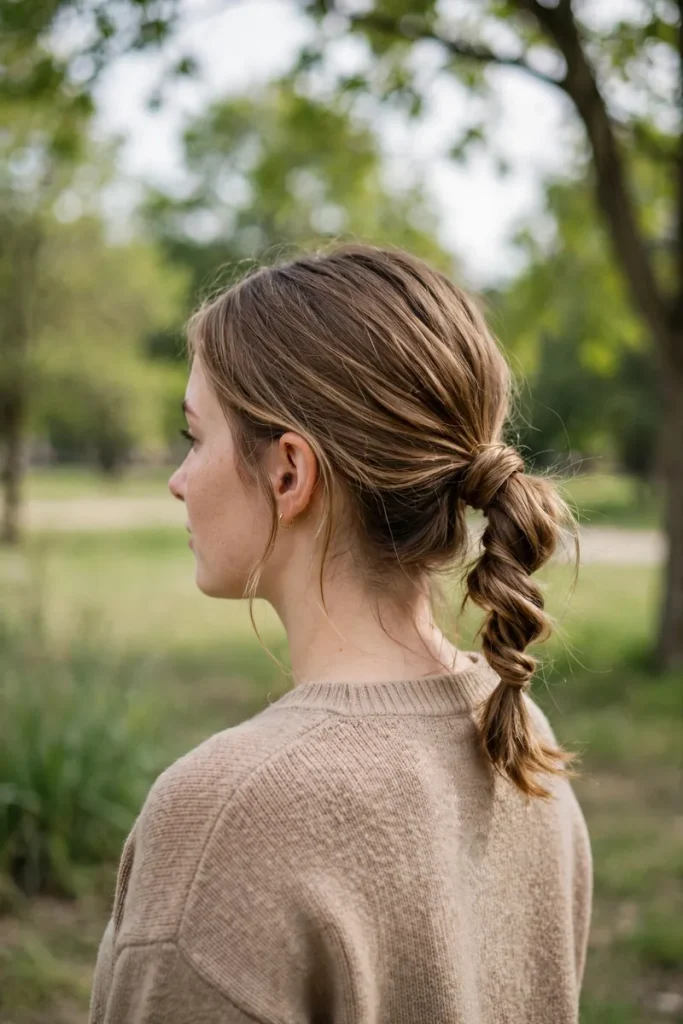
Part your hair, twist each side back, join into a low ponytail. Elegant with almost no effort.
The twists are the detail that elevates it. Two simple twists turn a basic ponytail into something event-worthy.
Secure each twist with a pin before joining them, so nothing unravels while you work. Then tie it all together.
A twisted low ponytail photographs beautifully from the side, so it’s great for events with photos.
Styling Shortcuts That Save Mornings
Dry shampoo is a styler, not just a cleaner. It adds grip and texture that makes updos and braids hold twice as well.
Learn three styles deeply. One down style, one ponytail, one updo. Mastered basics beat twenty half-learned ones.
Sleep in a loose braid. You’ll wake up with soft waves, which means tomorrow’s style is already halfway done.
Invest in good elastics. Cheap ones snap, snag, and leave dents. Seamless, no-crease elastics are worth every penny.
Embrace the air dry. Medium hair air-dries faster than long hair. A good cut plus air drying is the lowest-effort routine there is.
Refresh, don’t restyle. Day-two hair usually just needs dry shampoo at the roots and a quick pass with an iron on the front pieces. Full restyling every day is overkill.
Questions I Get Asked
Is medium hair hard to put up? Not once you know the tricks. Claw clips, low buns, and half-up styles all work beautifully. Very high updos are the only challenge.
How often should I trim medium hair? Every eight to ten weeks to keep the shape. Blunt cuts need it more often; layered cuts are more forgiving.
Can medium hair do a top knot? A half-up top knot, absolutely. A full top knot works too if your hair reaches, it just sits lower than on long hair.
What’s the best style for thin medium hair? Blunt cuts, textured waves, and anything with pancaking. Avoid super sleek styles, which expose thinness.
How do I grow out medium hair without the awkward stage? Regular trims while growing, fun accessories during the in-between, and styles that work at every length like braids and claw clips.
Try One This Week
That’s my full collection, 18 hairstyles for medium length hair, from fresh cuts to five-minute styles you can do half asleep.
Pick one new style to try this week. Just one. Master it, then add another. That’s how a repertoire gets built, one style at a time, until you have options for every mood and occasion.
Save this post for the next time you’re bored with your hair. And tell me in the comments, which one are you trying first?