16 Braided Hairstyles Ideas That Look Salon-Done (But Take Minutes)
I used to think braids were boring. Like, something you wear to school and forget about.
Then last spring, my cousin asked me to do her hair for her engagement party. I gave her a chunky side fishtail, pinned it loose, and three separate people asked which salon she went to.
That’s when it clicked for me. Braids aren’t basic — most of us are just doing the same one on repeat.
So I rounded up 16 braided hairstyles ideas I actually wear, from four-minute everyday ones to the pretty styles worth practicing before a big day. There’s something here for long hair, medium hair, and shorter cuts too.
And don’t worry if you’ve never been “good at braiding.” Half of these need zero skill — just elastics and five minutes. The other half I’ll walk you through step by step.
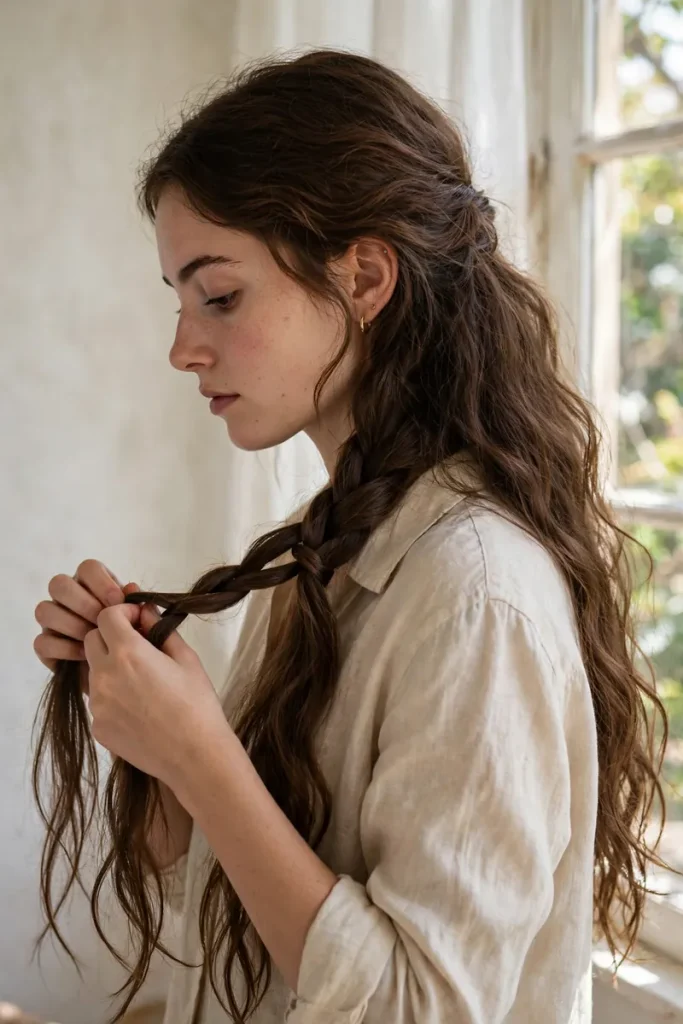
What I Keep in My Hair Drawer
Nothing fancy, I promise. Small clear elastics, a pack of bobby pins, and a brush you already own.
One quick note before we start: every style below works on your natural texture. You don’t need to straighten or curl first — braids look best when your hair is just being itself.
The one thing I’d actually buy is a texture spray. Braids grip so much better when your hair isn’t slippery-clean. Day-two hair is genuinely the best hair for braiding.
Oh, and keep a small mirror handy if you’re doing anything at the back of your head. Trying to French braid blind is how you end up with a lopsided mess and redo it three times.
16 Braided Hairstyles Ideas to Steal
1. Classic Three-Strand Braid
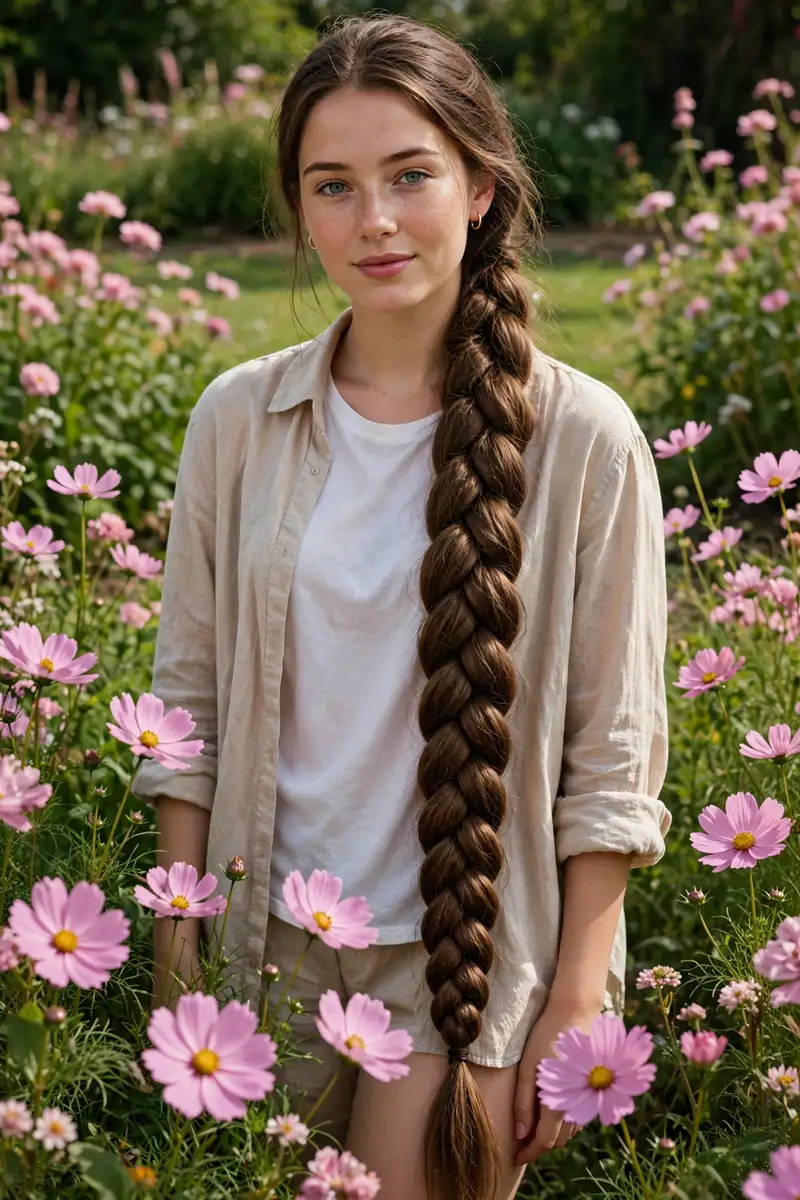
Let’s start with the one your mom taught you. Brush everything smooth, divide into three equal parts, and cross the outer sections over the middle, alternating sides.
Three minutes, tops. My favorite trick is pancaking — once the braid is tied, gently tug the edges outward with your fingertips. It makes even fine hair look twice as thick.
Just don’t pull it drum-tight. A super tight braid gives you a headache by afternoon, and it also makes the style look harsh instead of soft.
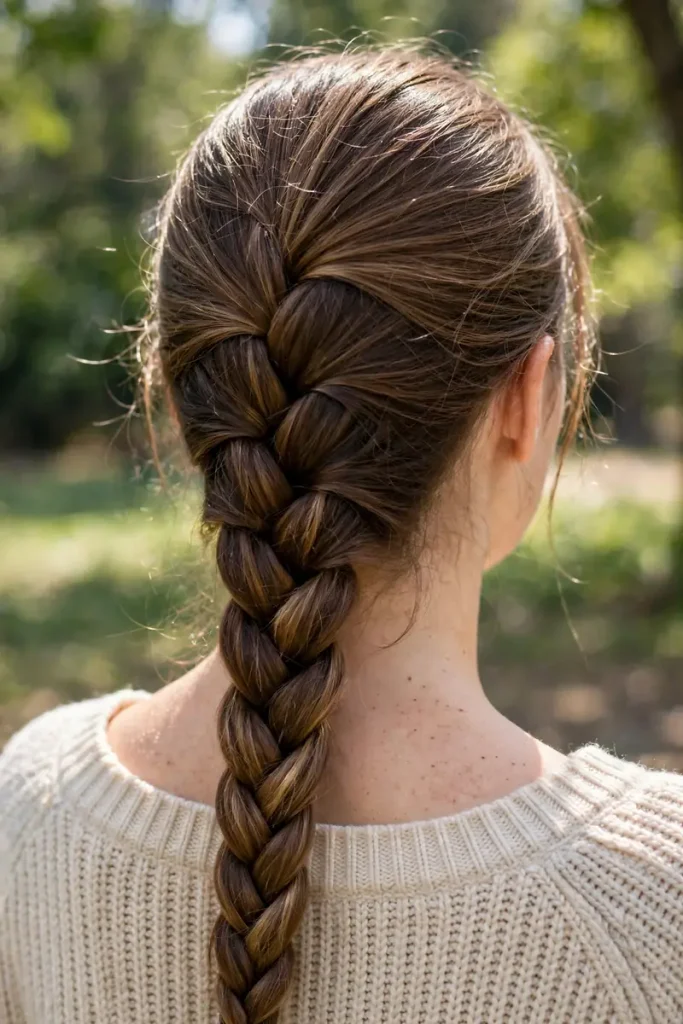
2. French Braid
School run, office, gym — this is the braid that handles all of it. Everything stays locked against your head, so no pieces fall in your face halfway through the day.
Start with a small section at the crown and add hair from each side every time you cross. The secret nobody tells beginners: keep the added sections even, or the braid goes lopsided.
Most people start too low, which makes the whole thing droop. Start higher than feels natural — right at the crown — and you’ll get that clean, lifted look.
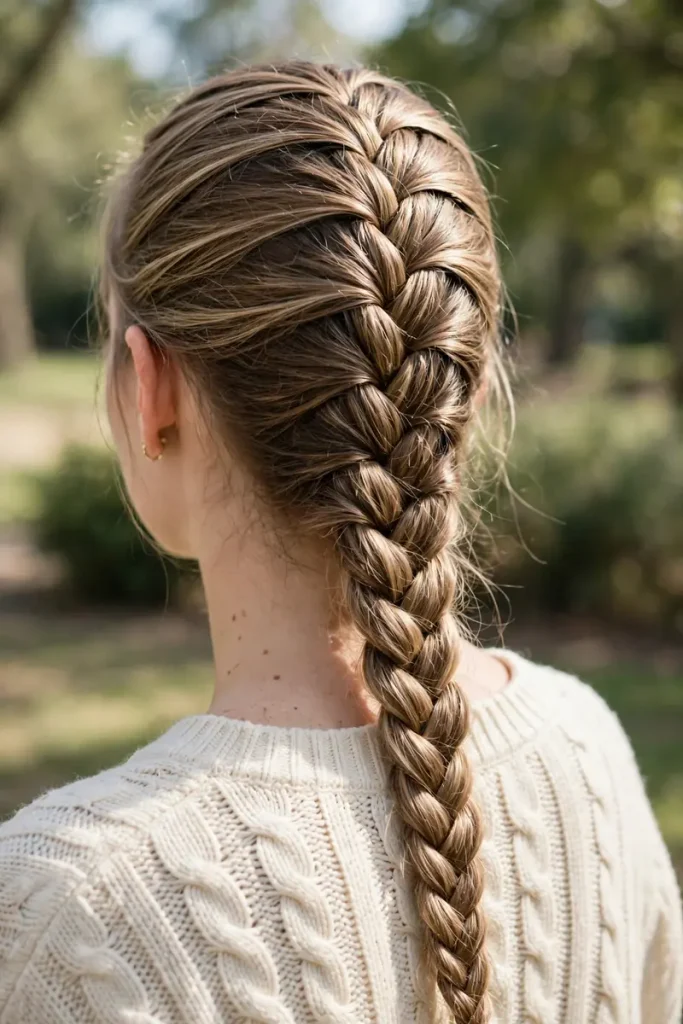
3. Double Dutch Braids
Two Dutch braids, one on each side. Sporty, cute, and your hair is completely handled all day.
The Dutch technique means crossing under instead of over, so the braids sit on top of your hair and really pop. This style looks amazing on thick hair because there’s so much texture to show off.
I wear these for travel days and long shifts. They survive naps, wind, and that thing where you keep touching your hair without realizing it.
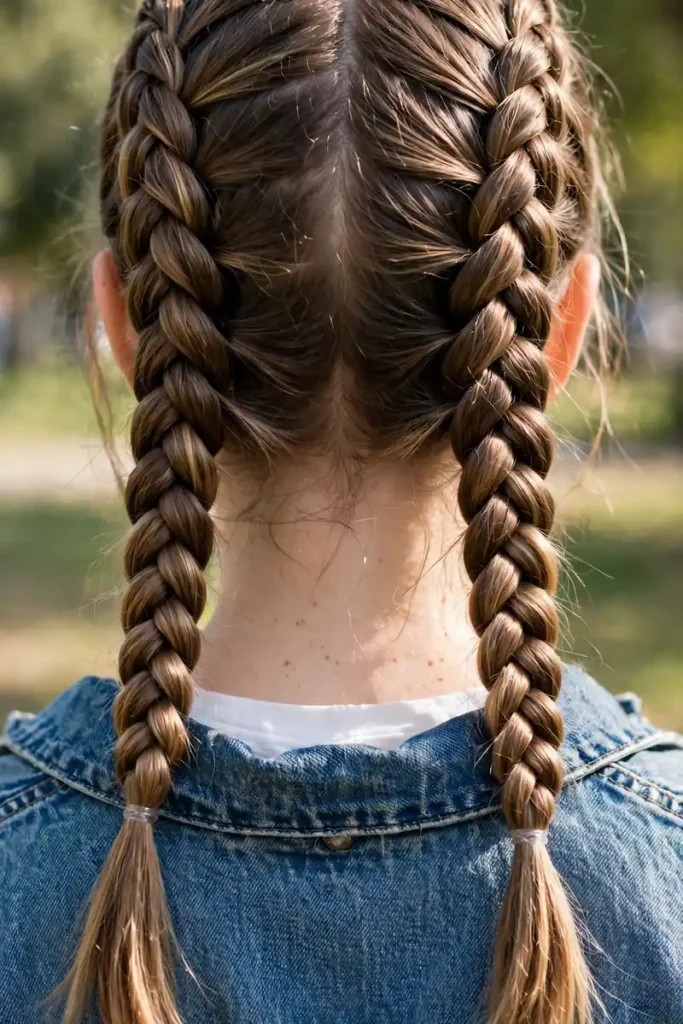
4. Fishtail Braid
The fishtail fools everyone. It looks like a stylist spent an hour on it, but you’re only ever working with two sections, crossing small pieces back and forth.
It gives off dreamy boho energy — perfect for brunches, date nights, and beach days. Take thin pieces for that intricate mermaid look, or thicker ones when you’re rushing out the door.
Give yourself ten minutes the first couple of tries. Your fingers need to learn the rhythm, and then it becomes automatic.
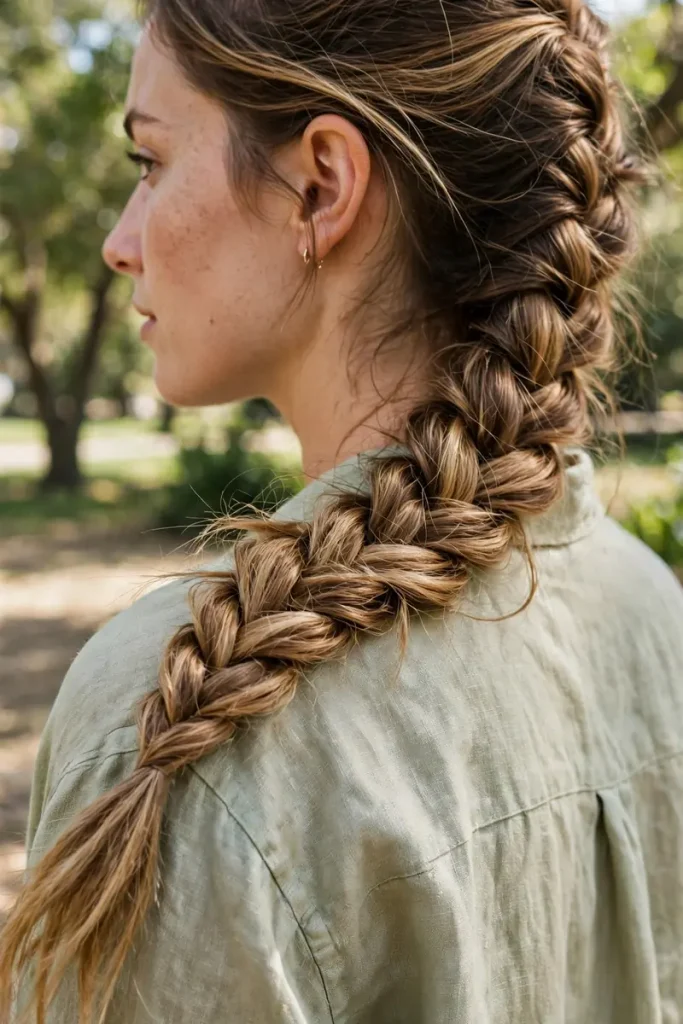
5. Waterfall Braid
This is basically a French braid with one twist: instead of folding each new strand in, you drop it and pick up a fresh piece. The dropped strands cascade down like a waterfall.
Fair warning — it takes practice. The move that trips everyone up is holding on instead of truly letting the strand fall. You have to actually release it, which feels wrong the first time and then suddenly clicks.
Try it two or three times at home before wearing it out. In photos, though? Absolutely stunning.
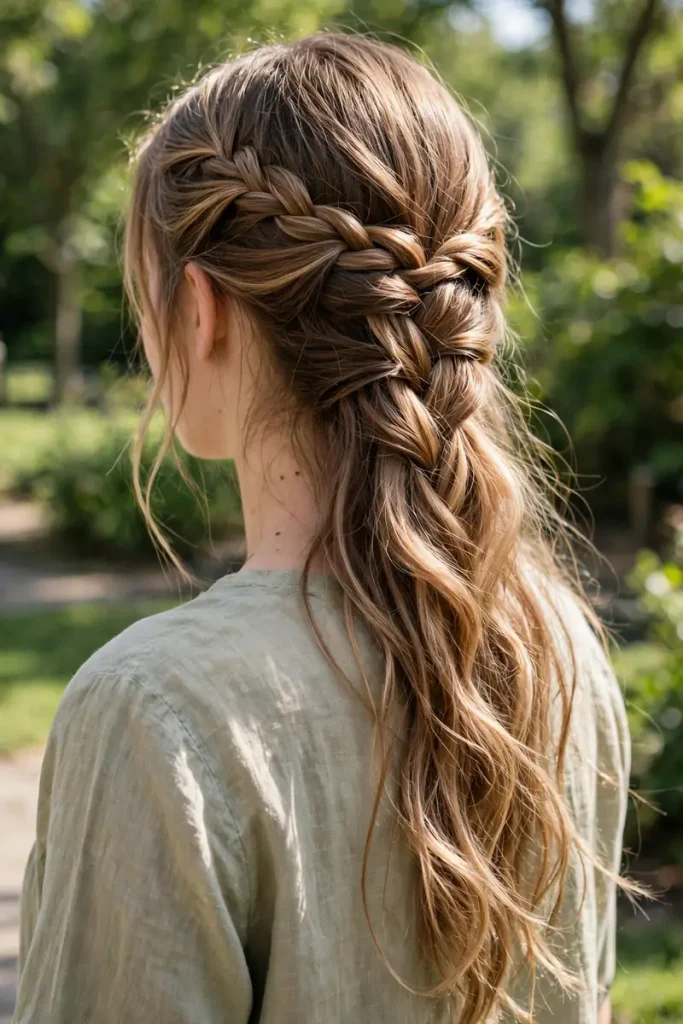
6. Braided Ponytail
Can’t decide between a braid and a ponytail? Do both. Braid the top or the sides, then gather everything into a ponytail. Five minutes, and a boring ponytail turns cute.
Here’s the detail that makes it look polished: take a thin strand from the ponytail, wrap it around the elastic to hide it, and pin it underneath. Tiny step, huge difference.
Go easy on product for this one. Heavy gel makes the ponytail look stiff and crunchy instead of soft and bouncy.
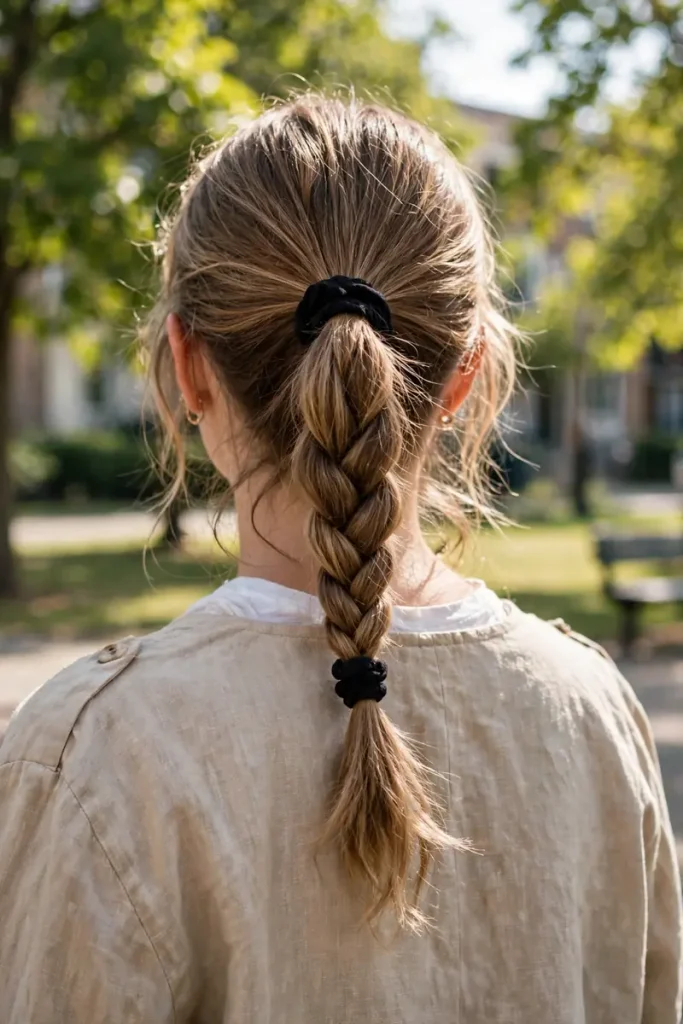
7. Milkmaid Braids
Two regular braids wrapped up and over your head, pinned in place. Sweet, a little vintage, very festival-ready.
You need medium to long hair for the braids to reach across comfortably. Tuck each braid’s end under the opposite braid so nothing sticks out, and don’t be shy with the pins.
Thin hair? Pancake each braid before wrapping. A fuller braid makes a much prettier crown, and this style photographs beautifully from every angle.
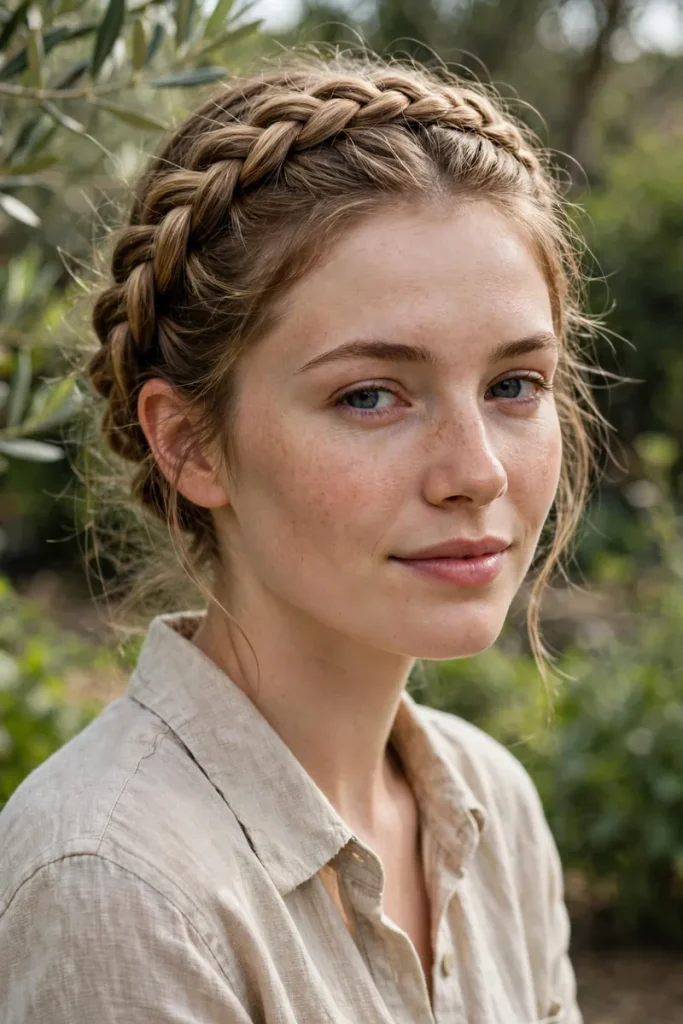
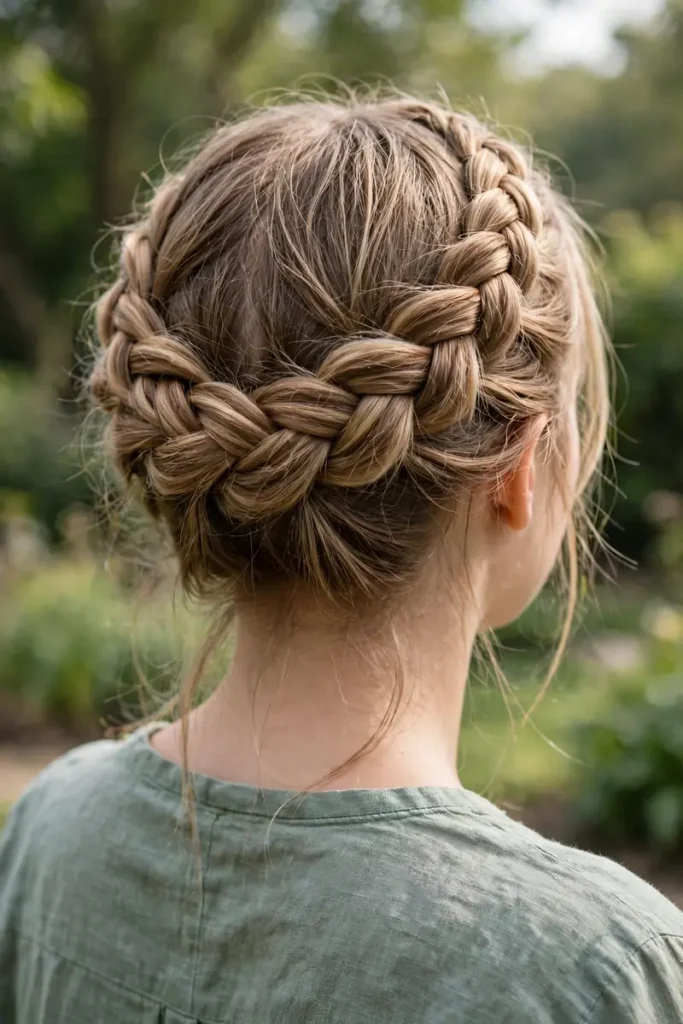
8. Halo Braid
One continuous braid wrapped all the way around your head like a halo. People will literally stop you to ask about this one.
Use a Dutch braid instead of a regular one — it sits on top of the hair, so the halo shape reads way more clearly. You’ll need longish, thicker hair to make it all the way around.
Spend an extra minute on the tuck where the end disappears under the start. That’s the spot everyone sees in photos. Pin it flat and smooth, and your halo looks flawless.
9. Bubble Braid
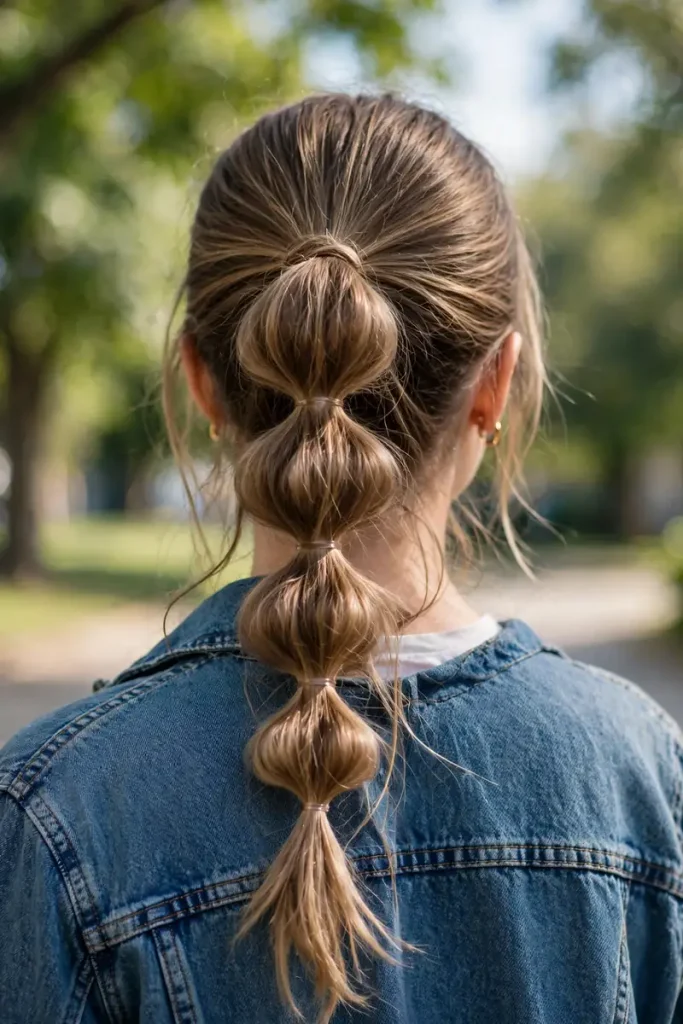
Confession: there’s zero actual braiding here. Ponytail, elastics every couple of inches, then puff each section into a bubble. That’s the whole style.
Which makes it perfect for total beginners and for mornings when your brain hasn’t switched on yet. Five minutes to something playful and cute.
Space the elastics evenly first, then tug each bubble outward gently. Everyone’s first mistake is yanking too hard and sliding the elastic down. Soft hands win.
10. Side Braid
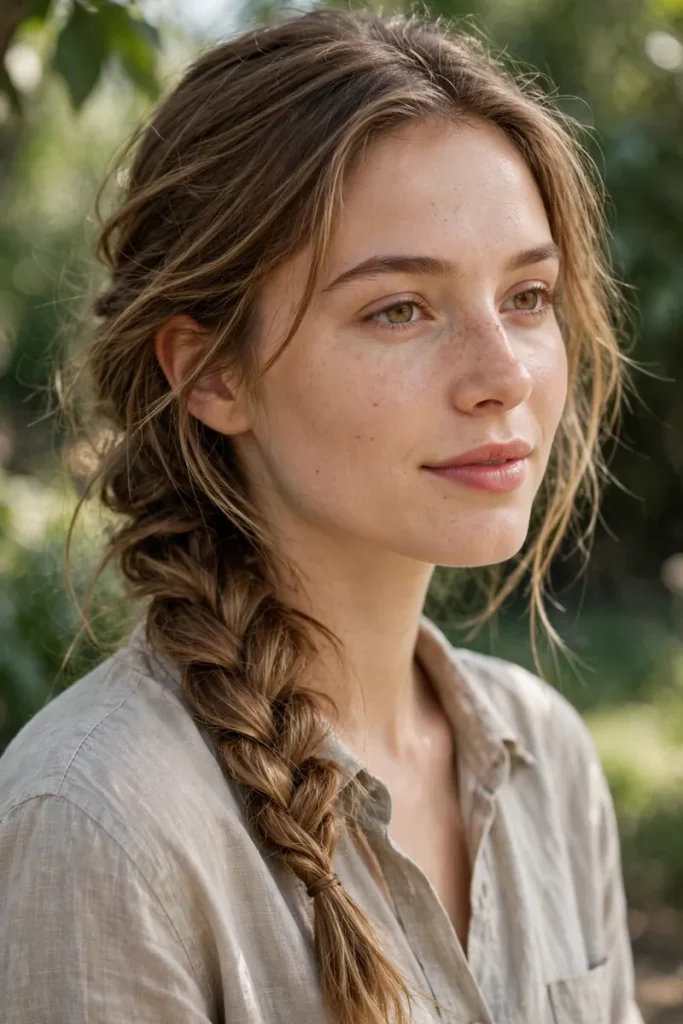
My personal everyday pick. One loose braid swept over a single shoulder. Four minutes, effortlessly pretty, and it works even when the rest of your outfit is simple.
Start the braid behind your ear, not at the nape of your neck. That one shift makes it drape naturally over your shoulder instead of sticking out sideways.
Before tying it off, pull out a few soft pieces around your face. Those little flyaways aren’t mistakes — they’re what keep it looking relaxed instead of strict.
11. High Braided Bun
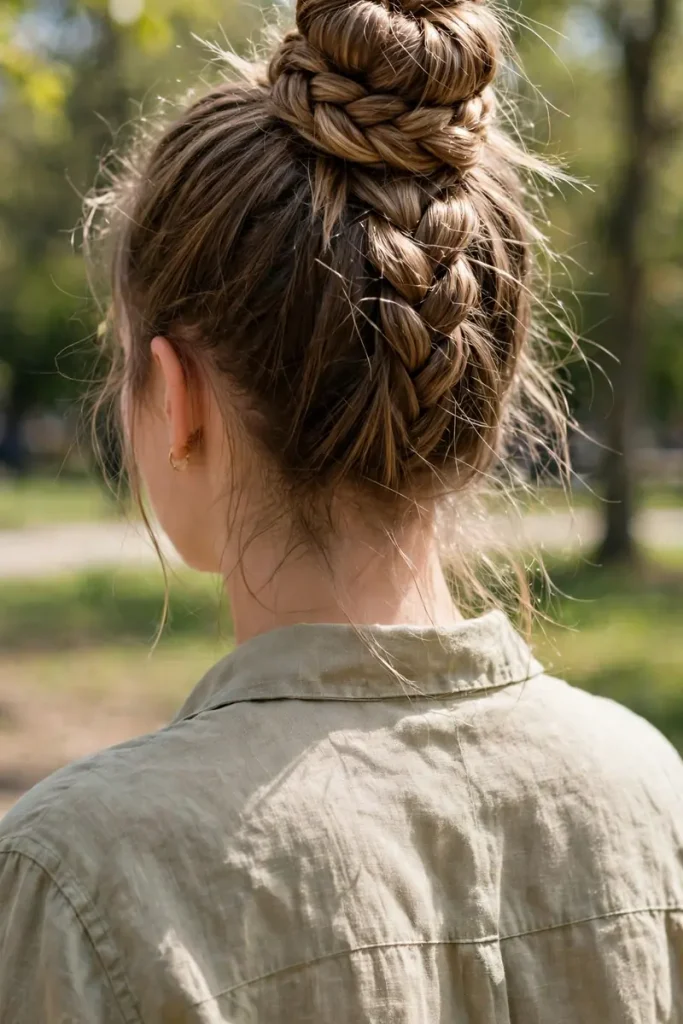
Braid your hair, then twist that braid into a bun on top of your head. It looks like a salon updo and takes about eight minutes.
This is my go-to for weddings and formal dinners. It reads elegant every single time, and it stays put through dancing.
Two things matter: use more bobby pins than you think you need, and if your hair is fine, a small hair donut underneath gives gorgeous volume. Prep it right and you’ll get compliments all evening.
12. Rope Twist
If braiding has ever frustrated you, meet the rope twist. Split hair into two sections, twist each one the same direction, then wrap them around each other the opposite way. Done.
Three minutes. Sleek and polished — ideal for office days when you want to look sharp without trying.
There’s exactly one rule, and it’s the only thing that goes wrong: both sections must be twisted the same way first. Opposite directions and the whole thing unravels the second you let go.
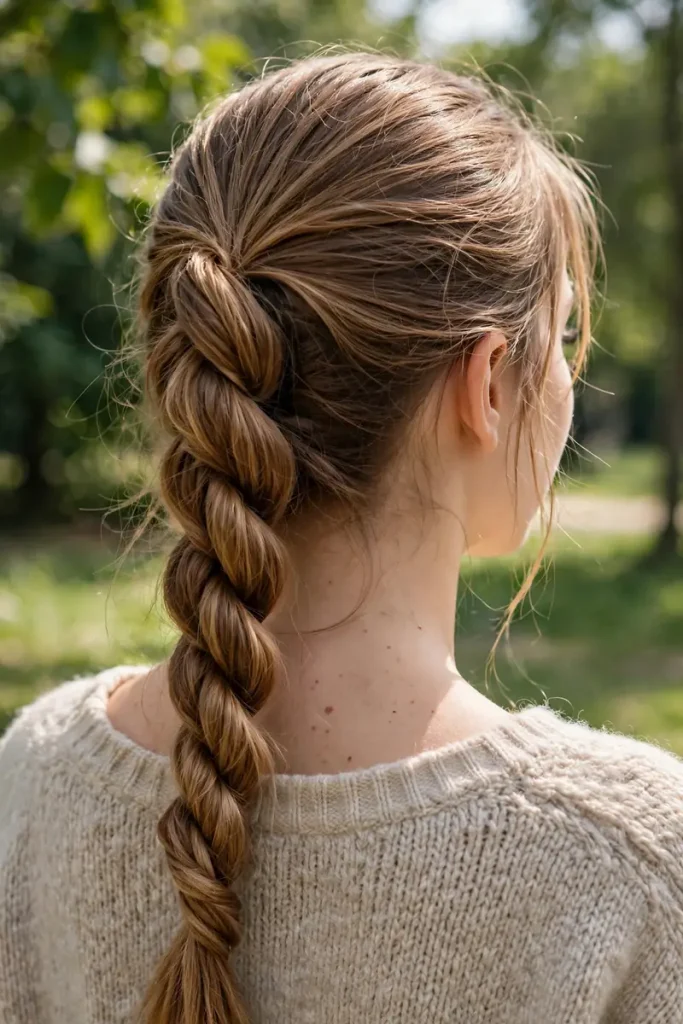
13. Cornrows
Braids woven flat against the scalp in clean rows. Neat, sporty, and with a little care they last for weeks.
Honestly the ultimate style for an active lifestyle. Daily gym, swimming, traveling without thinking about your hair — cornrows handle all of it.
Get them done by a stylist, and oil your scalp between appointments. A dry, itchy scalp is the number one complaint and it’s totally preventable. And give your scalp a proper wash and rest between sets.
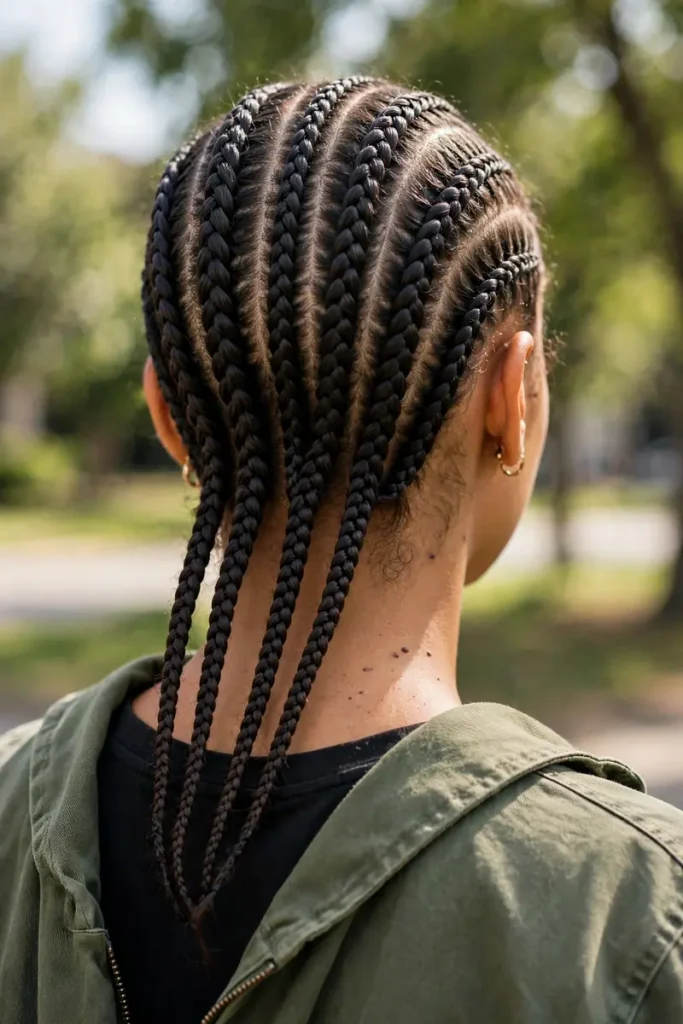
14. Box Braids
A real commitment in the best way. Hair parted into squares and braided down, usually with added hair for length. Once they’re in, you’re set for weeks.
See a stylist for your first set. They’ll get the parting neat and the tension right, which matters more than people realize.
About tension — if your braids hurt at the roots, they’re too tight, and tight braids can damage your edges over time. While you wear them, keep your scalp moisturized with a light oil every few days.
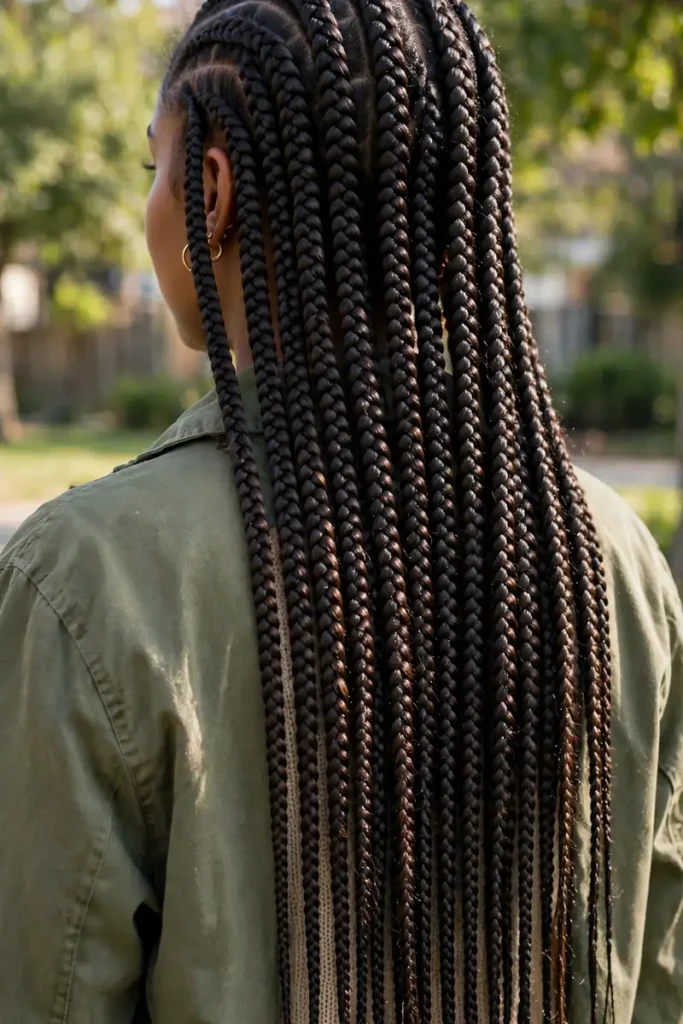
15. Half-Up Braided Crown
Braid a small section from each side, pin them across the back like a crown, and leave the rest flowing loose. Romantic without trying too hard.
I wore this to a friend’s engagement dinner and got asked twice who did my hair. It works beautifully on medium-length hair — you don’t need super long locks.
Crisscross two bobby pins in an X wherever the braids meet. That X grip holds so much better than a single pin. And don’t pull everything super smooth — a little softness is what makes it romantic instead of severe.
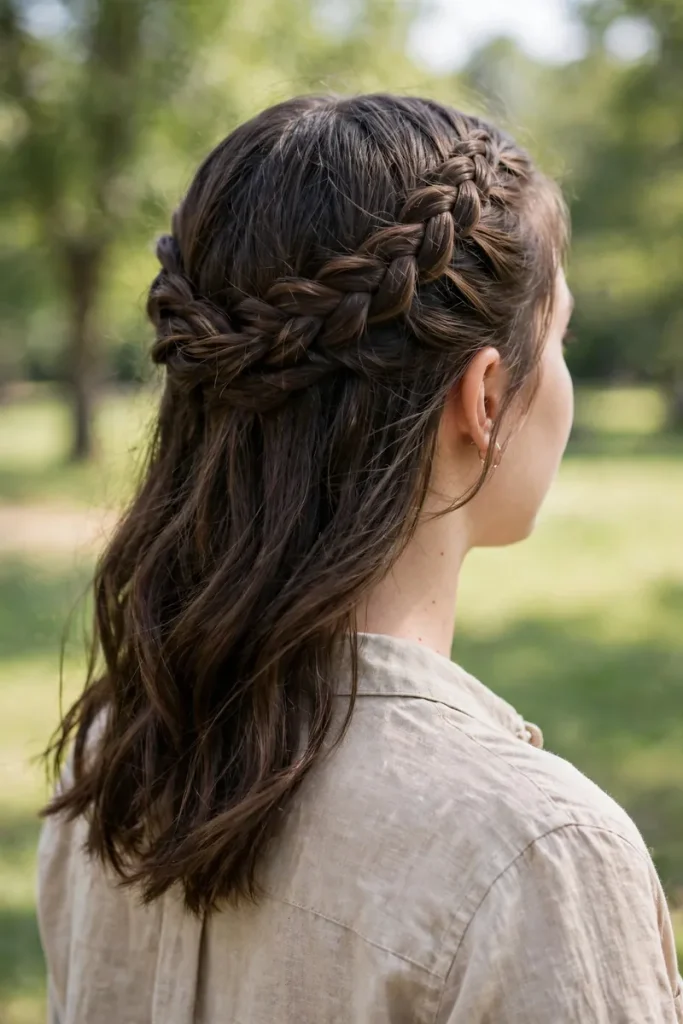
16. Braided Headband
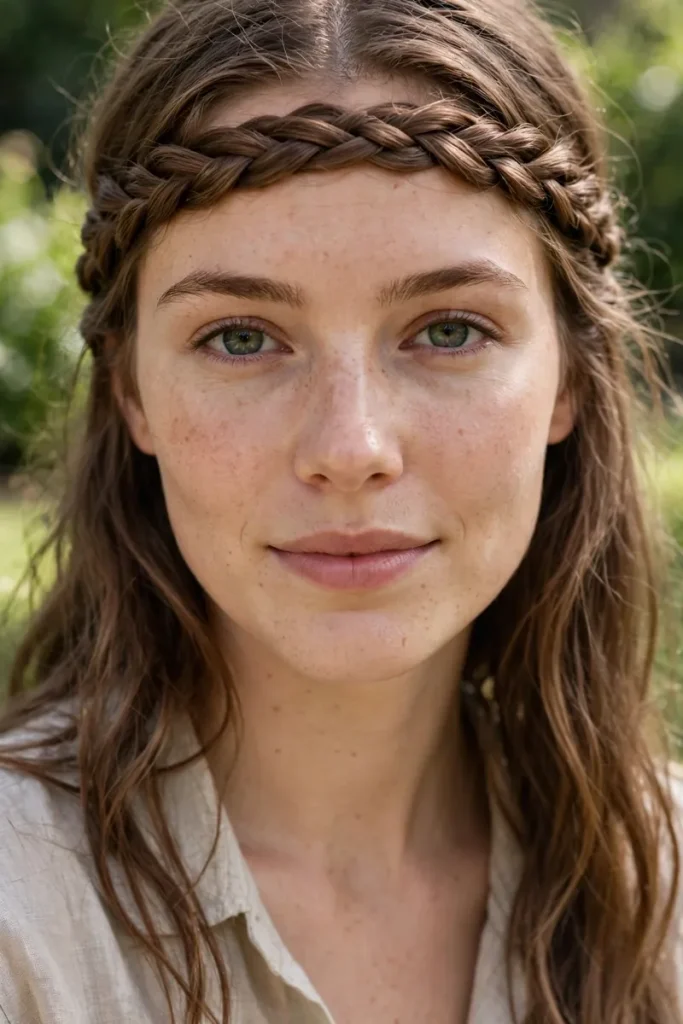
Short hair girls, this one’s for you. Braid a section near one ear across your forehead to the other ear and pin it. A headband made from your own hair — and it keeps bangs off your face beautifully.
The trick is placement: start slightly behind your ear, not right at it, so the braid lies flat instead of puffing out.
Pin the end behind your opposite ear and let a little loose hair fall over the pin to hide it. Six minutes, and it looks adorable with the rest of your hair down or up.
Braid Mistakes I See Everywhere
Braiding freshly washed hair. It’s slippery and everything slides out. Day-old hair or a spritz of dry shampoo fixes it instantly.
Pulling too tight. If it hurts, it’s too tight — redo it looser. Tight braids cause breakage, especially around your hairline.
Skipping the finish. One light mist of hairspray calms flyaways. You’re not building a helmet, just smoothing the edges.
Touching it all day. Every touch adds frizz. Set it and forget it.
Using the wrong elastic. Big fabric scrunchies slip right out of braids. Small clear elastics grip better and practically disappear.
Giving up after one try. Your first French braid will probably look messy. Your fifth will look great. Braiding is muscle memory — it just needs a few practice runs.
Quick Answers
What’s the easiest braid for a beginner? A classic three-strand braid or a rope twist. Both take minutes and you can learn them in one sitting.
Do braids work on short hair? Yes. A braided headband, tiny accent braids near your temples, or a half-up braided crown all work on shorter cuts.
How do I stop frizz? Smooth a little cream through your hair before you start, don’t touch the braid during the day, and sleep on a silk or satin pillowcase.
Are braids bad for your hair? Comfortable braids are fine. Only tight, pulling styles cause damage. Simple rule: if it hurts, redo it looser.
How long does a French braid take? Five to ten minutes once you’ve practiced. Your first try might take fifteen, and that’s completely normal.
My Final Take
So that’s my new list — 16 braided hairstyles ideas, from the four-minute everyday ones to the special styles worth practicing before a big day.
If you’re just starting out, begin with the three-strand, the bubble braid, or the rope twist. They’re the friendliest, and nailing one easy style gives you the confidence to try the fancier ones.
Save this post for your next bad-hair morning. And tell me in the comments — which one are you trying first? My money’s on the bubble braid becoming your new obsession.